The Big Pig: Momofuku Bo Ssam

Pork and coffee are perhaps the *only* two reasons to find oneself not only conscious but outside in 20 degree weather (Fahrenheit, not Celsius) at 7:20 in the morning. And it better be good pork. The coffee is, well, just a necessity of life.

But the pig was going to be good. The recipe came from the revered chef, David Chang, of New York's Momofuku fame. The man knows his pig. And this recipe is a pork-lover's dream.

But dreams take work. Lots of work. "Getting up early so the stupid pig can marinate properly" work.

So that's how I found myself at the butcher's at a horrifically early hour to purchase what David Chang (and apparently the rest of America)  interestingly calls "pork butt" or "picnic ham". Well, try saying that to a British butcher and not getting laughed out of the store. A quick perusal of the web gave me the right vocab to attack the situation. Ah...Boston butt! That'll explain everything!
Lies.
At least the web let me know what part of the piggy I was actually ordering, which as it happened, was the shoulder. That solved all problems.
So FYI, chefs, if ordering from a butcher in the UK, you want bone-in pork shoulder for this recipe.

But this was just step one of a full day pork-lover's marathon. The pig had to marinate in a crust of salt and sugary goodness for 6 hours. It had to be slowly roasted for another 6 after that. And then, as the piece de resistance, it had to be practically incinerated for 15 minutes to get that fabulously crackly sugary skin that everyone loves so much. Needless to say, this was going to take some time. And that doesn't even mention the sauces. Not one, but two sauces. Hey, this recipe is all about time investment.

But thankfully the sauces take little to no time to put together while the pig is roasting away. Apart from mincing 1/2 cup of ginger (which takes just as long as you think) and slicing some scallions/spring onions, it's a fairly quick job.

So piggy and I spent the day together. But there was no way I was eating piggy alone. This is a recipe for a veritable army. It serves *at least* six people, so start calling up friends, neighbors, and hey, people you find on the street. But guard that beautiful crackling skin wisely. Everyone knows it's the best part and you'll have to fight long and hard to keep some for yourself once they try it.

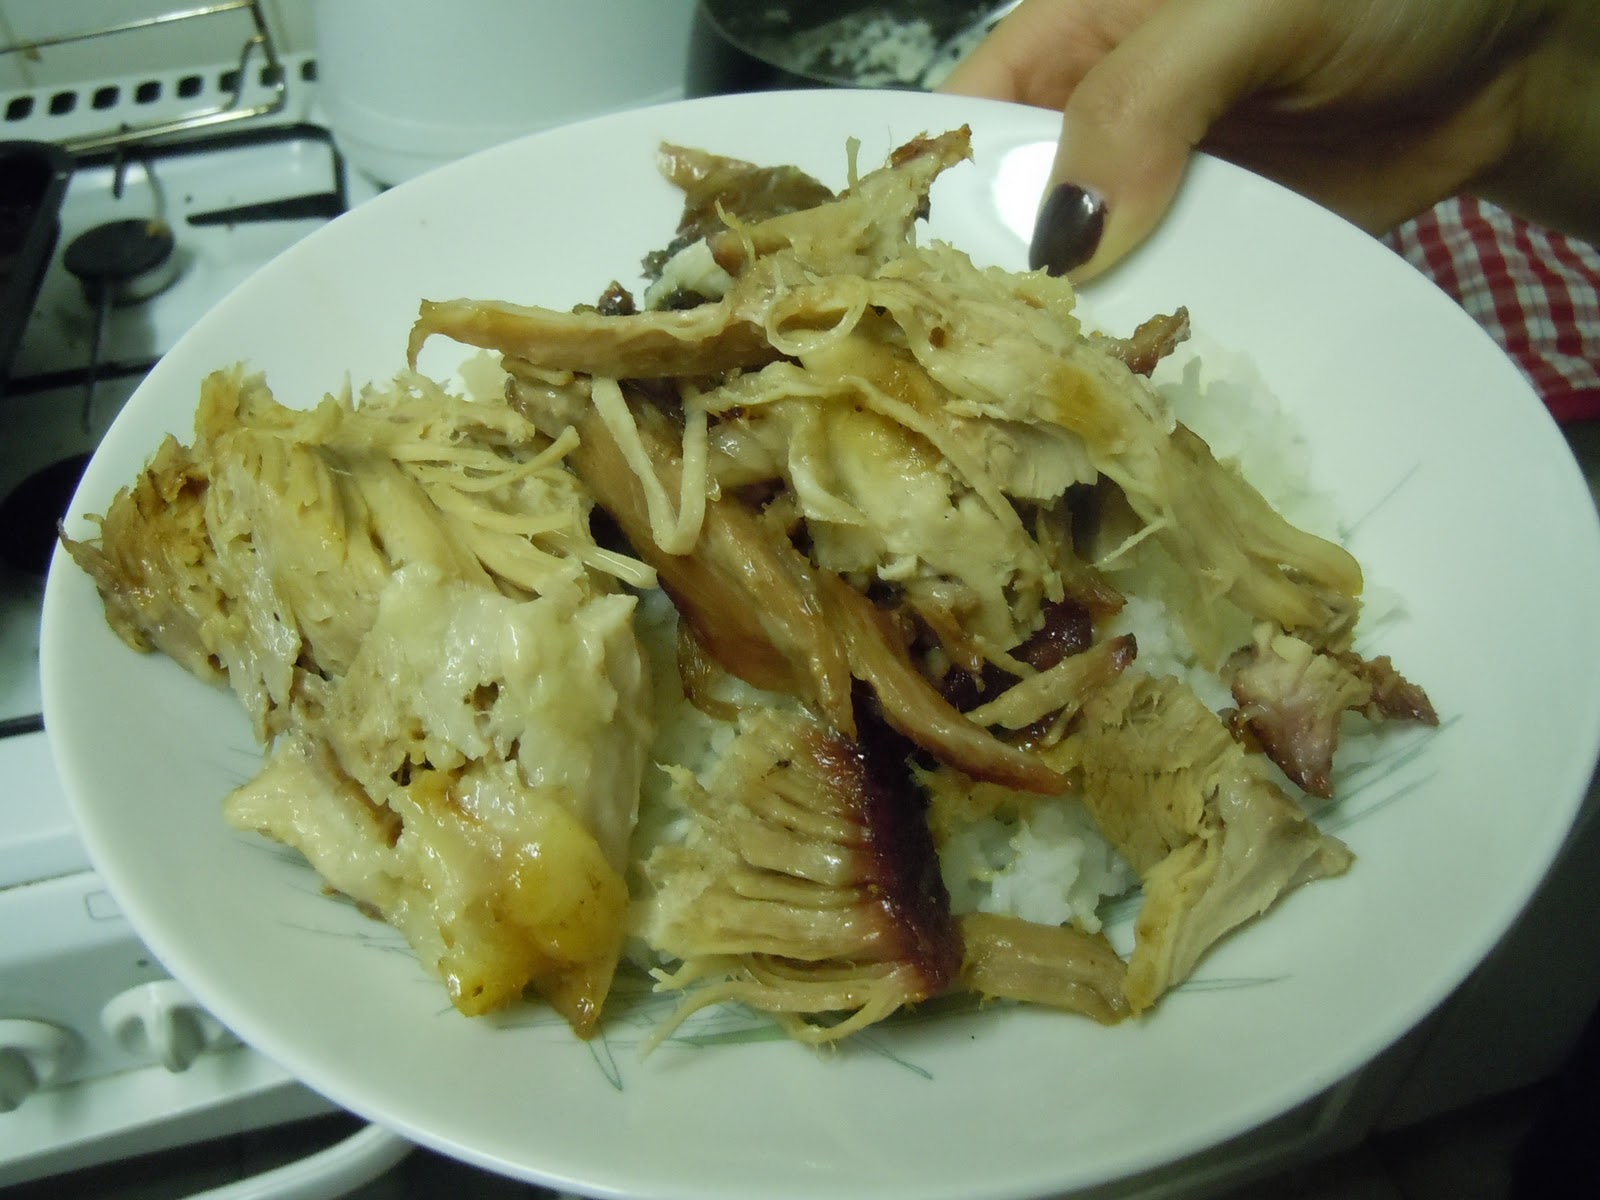
Serve the bad boy on top of plain white rice and set the condiments out for people to taste and try as they see fit. Of course, the pig was delicious on its own, but I have to hand it David Chang, the sauces made it even better.

Serves 6-10

Ingredients (Recipes for sauces follow)

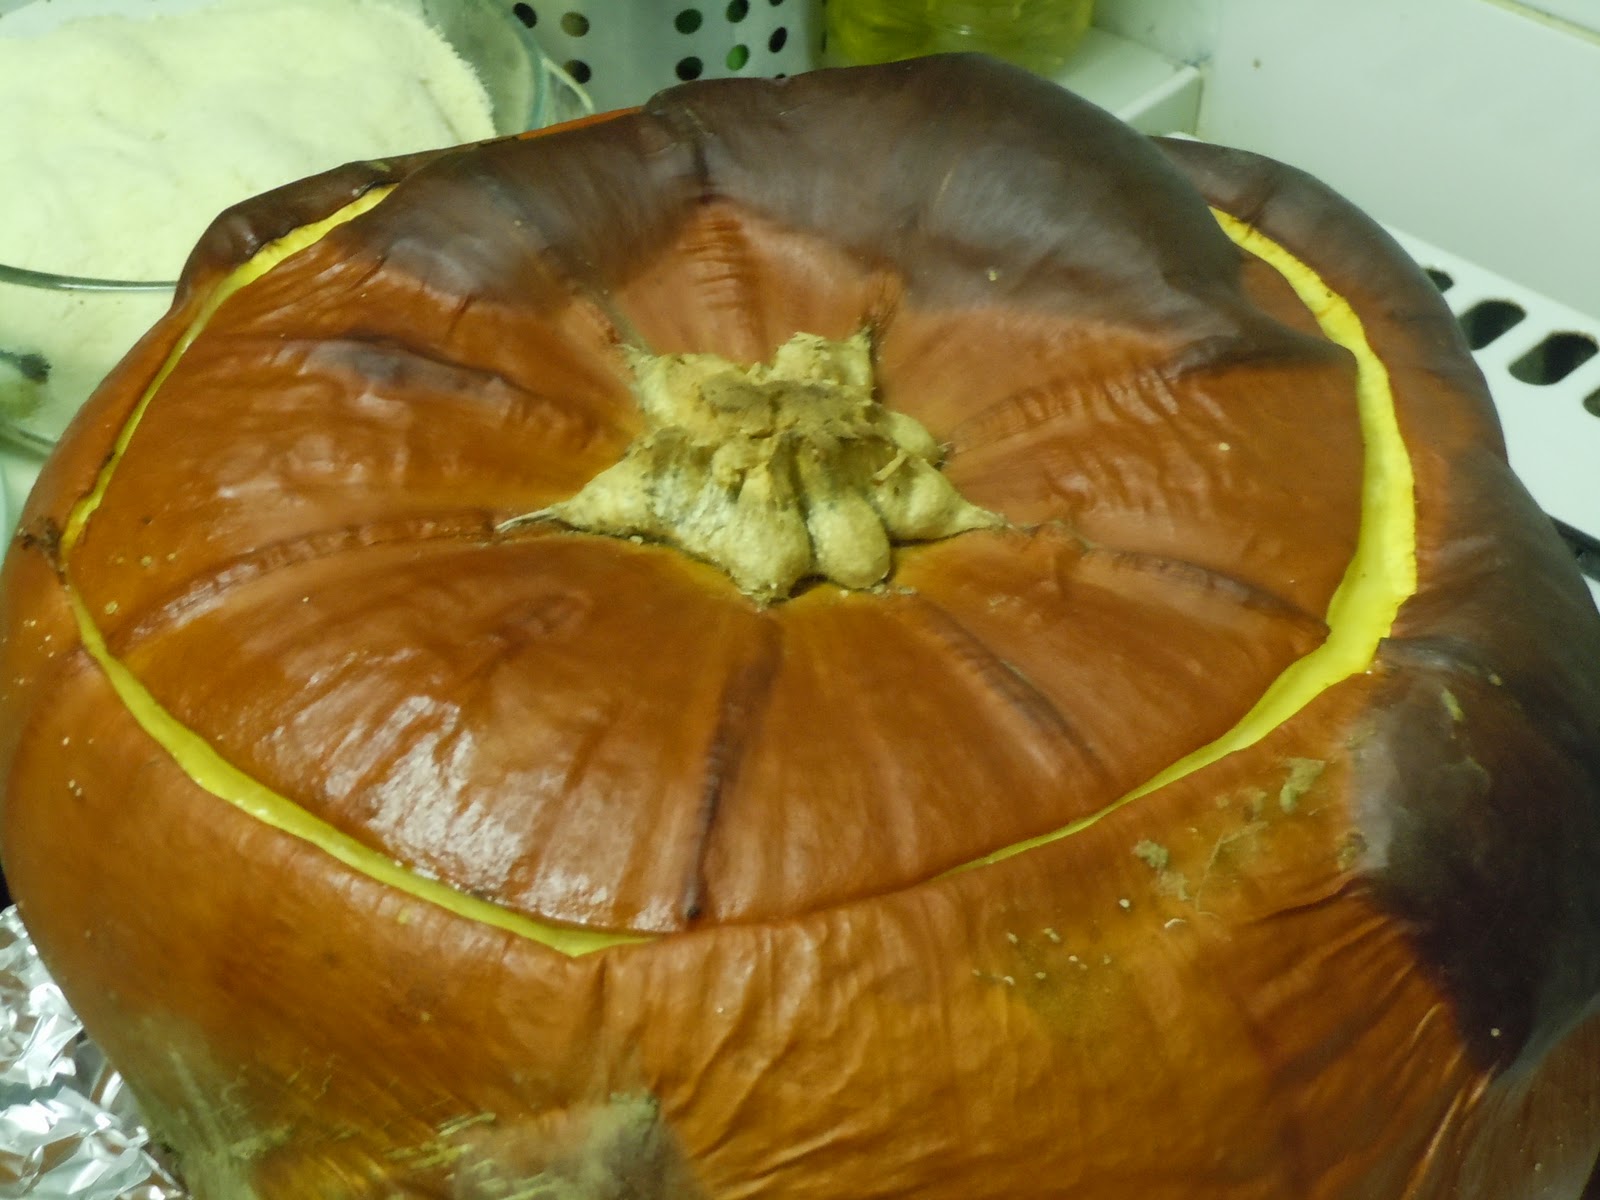
The big pig at the start of the day

Pork Butt

1 whole bone-in pork butt, picnic ham, or pork shoulder (depending on your geography) approx. 8 to 10 pounds or 4-4.5 kilograms

1 cup white sugar

1 cup plus 1 tablespoon kosher salt

7 tablespoons brown sugar

Method for Pork
Place the pork in a large, shallow bowl or roasting pan. Mix the white sugar and 1 cup of the salt together in another bowl, then rub the mixture all over the meat. Cover it with plastic wrap and place in the refrigerator for at least 6 hours (or, if your fridge is full and there happens to be a wintery tundra outside, wrap that puppy well and stick it outside), or overnight.
The pig in salt and sugar
When you’re ready to cook, heat oven to 300. Remove pork from refrigerator and discard any juices. Place the pork in a roasting pan and set in the oven and cook for approximately 6 hours, or until it collapses, yielding easily to the tines of a fork. (After the first hour, baste hourly with pan juices.) At this point, you may remove the meat from the oven and allow it to rest for up to an hour.
The pig at the 4 hour mark
The pig after 6 hours
Make your sauces and prepare 2 cups of white rice (see recipes below) and kimchi if desired. When your accompaniments are prepared and you are ready to serve the food, turn oven to 500. In a small bowl, stir together the remaining tablespoon of salt with the brown sugar. Rub this mixture all over the cooked pork. 
The final step: brown sugar and salt
Place in oven for approximately 10 to 15 minutes, or until a dark caramel crust has developed on the meat. Serve hot, with the accompaniments.
The final product.  Pig heaven.


Ginger-Scallion Sauce

2½ cups thinly sliced scallions, both green and white parts

½ cup peeled, minced fresh ginger

¼ cup neutral oil (like grapeseed)

1½ teaspoons light soy sauce

1 scant teaspoon sherry vinegar

½ teaspoon kosher salt, or to taste

Ssam Sauce

Ssamjang and Kochujang

*Chef's note: The 2 main ingredients to the sauce requires a bit of searching in Asian markets. The ones I found come in tubs with fairly general descriptions such as "Red pepper paste" for kochujang. As always, it's best to ask just to make sure you're buying the right item!

2 tablespoons fermented bean-and- chili paste (ssamjang, available in many Asian markets, and online)

1 tablespoon chili paste (kochujang, available in many Asian markets, and online)

½ cup sherry vinegar

½ cup neutral oil (like grapeseed)

Accompaniments

2 cups plain white rice, cooked

Kimchi (available in many Asian markets, and online)

Method

To make the ginger-scallion sauce: In a large bowl, combine the scallions with the rest of the ingredients. Mix well and taste, adding salt if needed.

To make the ssam sauce: In a medium bowl, combine the chili pastes with the vinegar and oil, and mix well.

Prepare rice and put kimchi and sauces into serving bowls.

Thai Mushroom Soup baked in a Pumpkin + Toasted Pumpkin Seeds

Behold, the mighty pumpkin. Well, surprisingly, not that mighty in the land of the Brits. Despite the hordes of pumpkins and pumpkin-flavored items in the US, alas, the UK (as I have waxed lyrically about previously) seems to shirk the glories of this gourd.

Although pumpkin soup is not completely unknown on this side of the Atlantic, versions seem to promote the standard "peel, cube, and cook" varieties. Now, I don't know if you've ever tried to peel a pumpkin, but there are few less rewarding tasks in this world. And a task guaranteed to either cause significant harm to you and/or your pumpkin, probably leaving you with little desire to carry on in the soup-making task.

Which is why *this* version of pumpkin soup is so glorious. No peeling required! Just the standard jack-o-lantern trick of cutting a lid on the top and scooping out the glorious pumpkin seeds (to be toasted later). Baking the entire pumpkin also makes a great display for the table (Martha Stewart eat your heart out) and you also get to live dangerously: Will the pumpkin collapse in the oven? Won't it? Yes, the soup takes a bit of patience, but the combination of Thai and autumnal flavors in this thing are completely worth it. Originally this soup (in a much simpler yet absolutely still delicious form) was found via River Cottage and basically involves cooking a bunch of cream and cheese in a hollowed pumpkin. My version makes the concoction a bit more soup-like with some complex Asian flavors and some mushrooms thrown in for earthiness. It's a soup that's a bit time-consuming but wonderful on those cold autumn nights.

Serve 4-6

Ingredients
One large pumpkin
1 can coconut milk
1 1/2 cups dried porcini mushrooms (rehydrated in boiling water and left to soak for up to 30 minutes, but SAVE the water which you rehydrated them in!!! If you don't want to use this, 2 1/2 cups chicken broth)
1 cup chestnut mushrooms, sliced
2 green or red finger chilies, diced
1 onion
2 cloves garlic
8 oz. gruyere cheese, grated
1/2 cup single cream
4 slices bacon (or bacon lardons), cooked and drained of fat
2 tbsp. Olive oil
3/4 tsp white pepper
Salt and black pepper to taste
Cilantro/Green onions (optional)

Method

Preheat the oven to 375ºF/191ºC.

Using a narrow pointed knife, slice around the stem of the pumpkin at a 45-degree angle. Scoop out pulp and seeds (but don't forget to keep the seeds for toasting!). Place the emptied pumpkin on a large baking tray that has been covered with aluminum foil.

Fill the pumpkin with half of the grated Gruyère cheese.
Meanwhile, heat a deep saucepan on med-high and add the olive oil. When hot, add the onion and garlic and saute for approximately 3-5 minutes. Add the rehydrated porcini mushrooms, chestnut mushrooms, and chilies. Cook for another 3-5 minutes, or until the mushrooms go soft and start to sweat. Add the bacon and cook for another 30 seconds to a minute. 
At this point, add the porcini mushroom water or chicken broth along with the coconut milk. Stir. Add in gently, while stirring, the 1/2 cup of single cream and cook for another 2-3 minutes. Season to taste with salt as well as the black and white pepper. 
A perfectly "done" pumpkin
Pour the mushroom soup mixture into the cavity of the pumpkin, on top of the gruyere cheese. Sprinkle the rest of the gruyere cheese on top of the soup mixture. Season again with salt and black pepper. 
Replace the lid of the pumpkin and place the entire thing in the oven to be roasted slowly. Depending on the size of your pumpkin, this may range anywhere from 1 to 2 1/2 hours. The key to cooking the pumpkin is to keep a wary eye on its structural integrity. Once the skin on the outside of the pumpkin starts to sag, be warned! There is a fine line between the glories of a cooked pumpkin and a heap of mush inside your oven. If in doubt, remove the pumpkin from the oven, remove the lid, and check for the done-ness of the inside flesh (should be fairly soft). 
When serving, make sure to scrape the inside of the pumpkin so that each bowl gets a good portion of the flesh and cheesy goodness (which by now has melted into the pumpkin itself) alongside the soup. Serve with cilantro and/or sliced green onions on top as garnish. 

Toasted Spiced Pumpkin Seeds
A fall classic and a great snack and/or soup topper!!
Ingredients
Seeds from one pumpkin (washed and dried)
Olive oil
Salt/Black Pepper
1/4 tsp cayenne pepper
1/4 tsp cinnamon
1/4 tsp achiote (or other chile powder)
1/4 tsp cumin

Method
Preheat the oven to 375 degrees F.

After removing the seeds from the pumpkin, rinse with water, and remove any strings and bits of squash. Pat dry, and place in a small bowl. 
Add the cayenne, cinnamon, achiote, and cumin to the bowl and stir to coat.

Scatter the seeds on a sheet pan in a single layer and drizzle with olive oil. Sprinkle with salt and pepper and toss to coat. Bake for 7 minutes and stir. Bake for another 7 minutes (or until seeds start to look dry and crispy). 

Nori Chips

I love to snack. Particularly before dinner in that 5-6pm dead space when you know it's too early to eat a full meal but late enough in the day when your brain naturally tends towards thoughts of culinary pleasure.

But snacking, as we have been told so often, is dangerous. Sure, you tell yourself you'll only nibble, so as to take "the edge off" but not spoil your dinner. But, if you're like me, this plan often comes to ruin. The cheese, the crackers, the nuts. Too often they do exactly what you had feared. Fill you up before you can enjoy the glories of dinner. This is a problem.

Which is why nori chips could perhaps be the best thing for the perpetual snacker. They are absolutely delicious: just enough saltiness to satisfy that nut/chip craving, but light enough so that it's physically impossible to spoil your dinner with them. They are literally "melt in your mouth" delicious.
Again, I must thank Bittman for this recipe. In his vegetarian cookbook, he repeatedly sings the praises of "seagreens" (seaweed to you and me). He puts them in everything as a filler, topping, or side dish, but I was more intrigued by the snack version of nori. Just as he promised, they literally took seconds to make (and seconds to eat). As long as you can find seaweed sushi wrappers in your grocery store, you're golden. No extra special version is required. Dark sesame oil is best for these, just because it adds just another hint of flavor, but whatever oil you can find will work perfectly.

Honestly, I know they look weird. Just try them. Your snacking self will thank you.

Ingredients
6 sheets nori
2 tablespoons dark sesame oil
Salt

Method
Put a skillet over medium high heat. Brush the nori with the sesame oil and sprinkle with salt. Put a single nori sheet in the pan and toast it until it shrinks up, about 15 seconds. Turn it over and toast the other side for 15 seconds.

Use scissors to cut the sheets into rectangular "chips". Serve within a few hours.

Spicy Stir-Fried Japanese Eggplant and Cucumber

I admit it. Stir-fries can be boring. Oil. Vegetables. Some protein. Cook. My life as a college student was defined by this simple recipe. It was easy, fast, and relatively healthy. After about 1000 of these dinners, and after I had done all the permutations of veg + meat I could think of, I abandoned the stir-fry, thinking I had moved on to much grander, more sophisticated meals.

How silly. Stir fries can be amazing. You just have to think a little creatively. And you have to know how to manipulate your herbs and spices. But really, they can be just as complex and "grand" as anything else on offer.

This certainly goes for the eggplant and cucumber stir fry I discovered on the Recipes for Health column (obviously Martha Shulman made the same conclusion I did about these kinds of dishes). Now, cucumber may not be the most obvious vegetable for stir-fries, but it works beautifully. If cooked just long enough, it retains just a bit of a firm crunch, but soaks up flavors and spice beautifully. And eggplant? Well, anything that has it usually gets my thumbs-up. This was no different. After just a few minutes in the pan, it'll soften into that wonderful silky texture, absolutely more-ish.

This dish probably works best as a side; however, I turned mine into a main (and it probably could have benefited from some tofu or shrimp to bulk it out as such). Feel free to experiment with the flavors on this one; you can't go wrong with boosting the ginger or spice content.

Ingredients
2 long Japanese eggplants (about 1 1/2 pounds)
Salt
2 long English cucumbers (or the equivalent in weight of Japanese or Persian cucumbers)
2 tablespoons rice vinegar
1 tablespoon soy sauce
1/2 teaspoon sugar
1/4 teaspoon salt (more to taste)
2 teaspoons dark sesame oil
2 tablespoons peanut or canola oil
2 tablespoons minced ginger
1/2 teaspoons red pepper flakes (to taste)
3 tablespoons minced scallions or chives

Method
1. Trim off the ends of the eggplants. Cut in half lengthwise, then slice thin (about 1/4 inch). Lightly salt, and toss in a colander. Allow to sit for 15 minutes while you prepare the other ingredients. Squeeze out excess water, then dry between sheets of paper towel.

2. Meanwhile, trim off the ends of the cucumbers. Cut in half lengthwise, then slice on the diagonal into 1/4-inch thick slices.

3. Combine the rice vinegar, soy sauce, sugar, salt and sesame oil in a small bowl. Place all of the ingredients near your wok or frying pan.

4. Heat a 14-inch flat-bottomed wok or 12-inch steel skillet over high heat until a drop of water evaporates within a second or two from the surface of the pan. Add the peanut or canola oil to the sides of the pan and tilt the pan to distribute. Add the eggplant. Stir-fry for three to four minutes until cooked through. Add the ginger and red pepper flakes, and stir-fry for 30 seconds. Add the cucumbers and scallions or chives. Stir-fry 30 seconds. Add the soy sauce mixture to the wok, and stir-fry one minute until the cucumber just begins to wilt. Remove from the heat and serve.

Yield: Serves four as a side dish.

Asparagus with Scallops and Black Beans

Well, it's official. It's asparagus season. Now you can't move for the green stalks of veggie delight. Unlike so many other items that you can now buy 12 months out of the year, I think asparagus has retained its hold as the fleeting food of summer. Like strawberries, you have to appreciate it while it's here, for it before you know, it'll be gone. 
So in honor of summer (well, late spring) and the joys of warmer weather, I decided to invest in the asparagus craze. As it is such a fleeting food, I've never felt comfortable cooking it. Asparagus is notoriously easy to overcook and there is the ever-increasing threat that you might end up with limp, bland stalks, at which any self-respecting 10 year old would balk. Keeping them nice and crisp is always a challenge. But, as always, Bittman to the rescue. Stir-fried with black beans and scallops, this recipe took about 10 minutes to do and was a perfect way to usher in spring. 
I thought, living in a multi-cultural hub of activity, buying the fermented black beans would be a piece of cake. On my road there are no less than four different Asian groceries. And so, heart in hand, I went off to each one, asking about the ingredient. No luck. No one seemed to have the faintest idea what I was talking about. In one store I was cautiously show the "beans" aisle, which indeed have black beans, but in the most standard dried variety. I felt absurd asking the kind and obliging shopkeeper (whose English was about at the same level as my Mandarin) if they had any beans that were..."Well, you know, fermented. Old. Do you have any old beans?"
No, silly woman. Why would we have old beans?
Sigh. There was no way of explaining this. I had a sneaking suspicion that the item that I was looking for was the equivalent of butter or sugar in an Asian market and was sitting front and center on the shelves. But no matter how I tried explaining it, I just ended up looking more ridiculous in front of the shopkeeper who was probably wondering why this bizarre American wanted "old beans" from his shop.
So I left. And marched straight into Tesco and, with a heavy heart, bought some "Asian black bean stir-fry sauce", which proudly proclaimed on the package to have "real pan-Asian flavors". 
Fabulous.
The moral of this story? If you either a) know Mandarin or b) have a reputable fermented black bean source, have a blast with the original version of this recipe. I was forced down the stir fry sauce road with this one, but I can't *really* complain, as the dish turned out to be delicious anyway.
Ah well, time to brush up on those language skills...

Ingredients
1 1/2 lbs of asparagus
2 tbsp toasted sesame oil
1 tbsp fermented black beans (or, see story above, 3 tbsp black bean stir fry sauce)
3 tbsp white wine
1 tbsp minced garlic
2 tbsp soy sauce
2 tbsp water
1/2-1 lb scallops
Optional: Chopped chives and/or toasted nori (seaweed)

Method
Heat 2 tbsp sesame oil in a large pan. Soak 1 tablespoon fermented black beans in sake or white wine to cover while pan heats (or simply combined the stir fry sauce with the white wine). Add asparagus and minced garlic. Cook until the asparagus looks dry and is starting to brown. Combine soy sauce with water and add to pan.  Add black beans and 1/2 pound sliced or cubed scallops to pan along with soy sauce and water. Cook for about five minutes or until the asparagus is still firm to the touch but tender.
Garnish: Chopped chives and/or toasted nori.