Key Lime Bars

My family has been on a quest since before I was born. Simply put: it is the search for the perfect key lime pie. Now, I have no idea how this started. It certainly isn't scientific; there's no spreadsheet anywhere of the various types we've tried or a grading scale of the pies. No, no. It exists more as a philosophical exercise. Think of it like the Platonic Form of the Key Lime Pie. We have a concept of what makes the perfect pie. But it will never exist in reality.

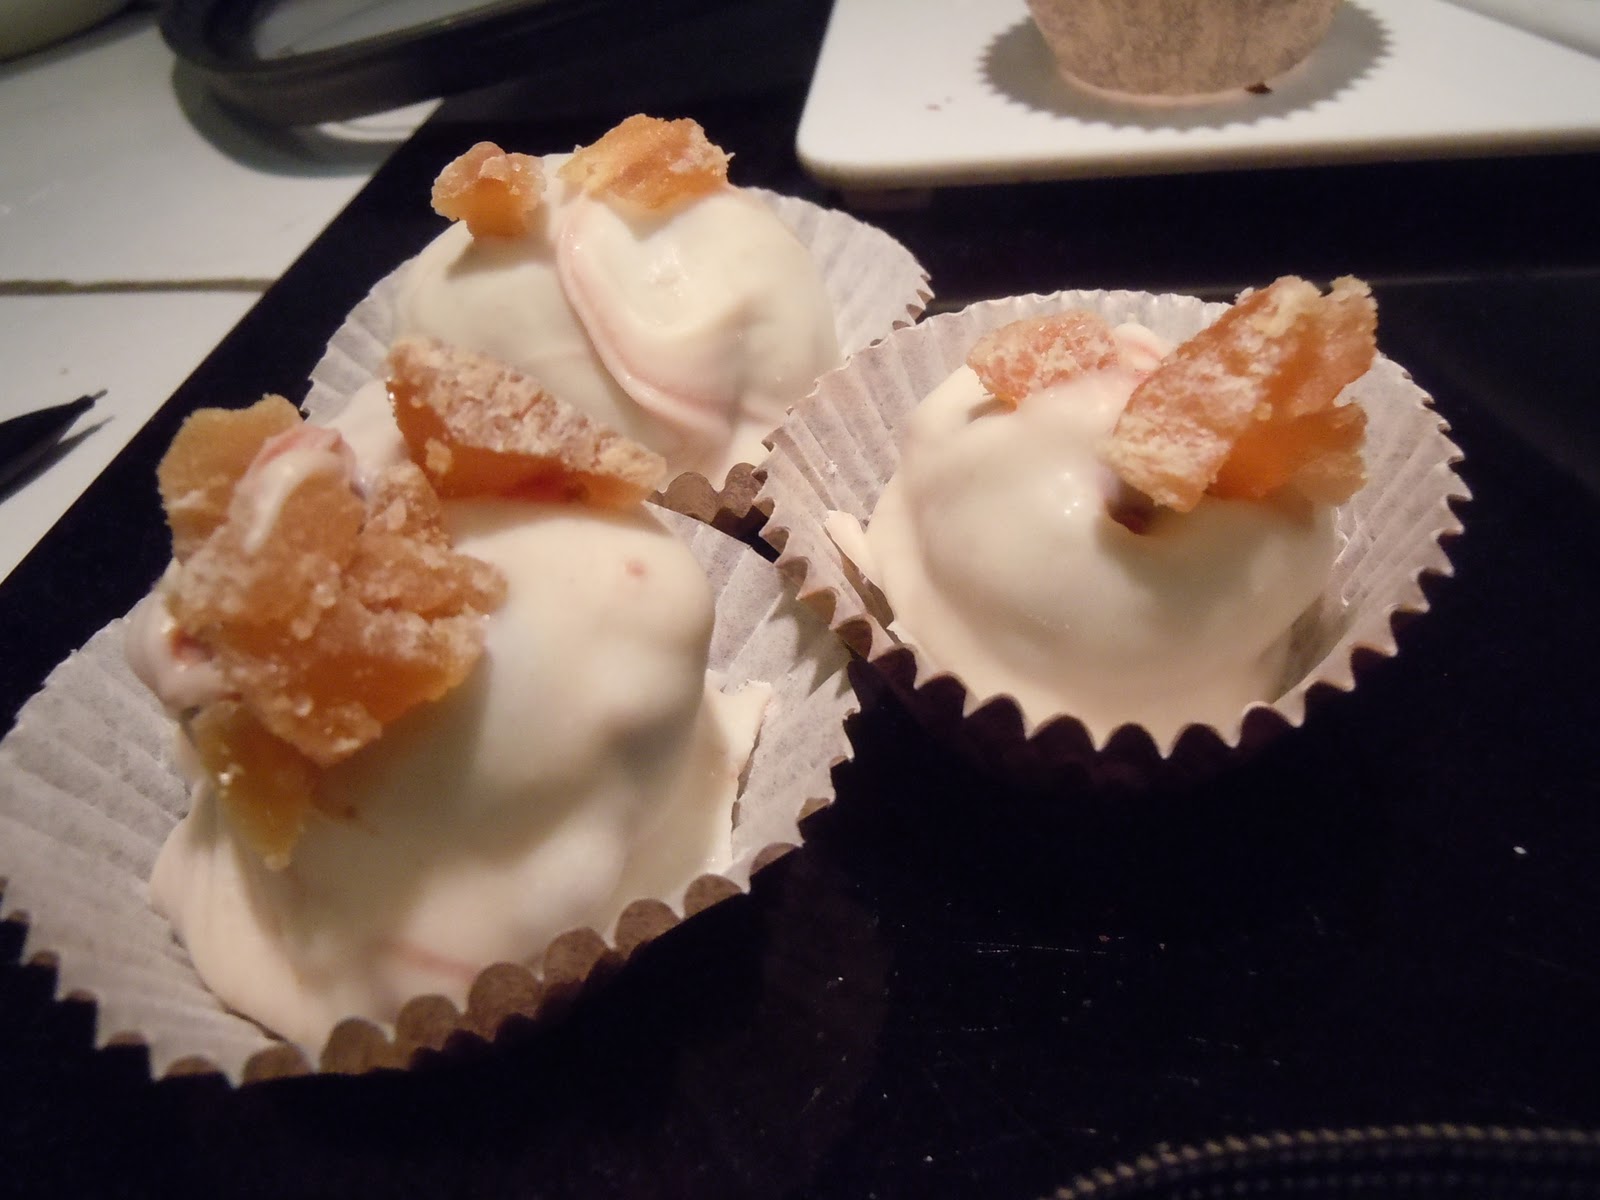
Right, now moving on from that digression into philosophy, I present the nearest approximation we have found to the perfect key lime pie. Well, take away the absolute necessity of the meringue (there are definite views on this in my household), but these have the exact right taste and texture that comprises absolute perfection in terms of key lime-iness. Add the toasted coconut on top. And, well, these don't last long.

They also get points in my book for having not a graham cracker crust (which is typical) but an animal cracker crust. Which my inner child finds vastly amusing. Now, I've never seen animal crackers (read: cookies) in Britain, so this may be yet another typically American food, but it is worth going on the hunt for them. Of course, any sugar cookies (sigh, sorry Britain, biscuits) will do. Hmmm, on second thought, perhaps ginger biscuits or digestives will also do nicely here. Anyway, the point is really in the key limes. And getting fresh ones. The magazine which featured this recipe (Eating Well, Fall 2003) had a whole subsection devoted to how necessary these were to the recipe. Not regular limes. Not even lime juice. But key limes. Well, honestly. If you can't find key limes (and this will inevitably happen), just use regular old limes. Key limes are notoriously difficult to juice and can be difficult to locate. Regular (as they call them, Persian) limes will work and give the bars a bit more of a tart flavor, but will still be delicious. Trust me.

Makes 16 2-inch bars

Ingredients

Crust
5 ounces animal crackers
3 tbsp. packed light or dark brown sugar (I used light)
Pinch table salt
4 tbsp. unsalted butter, melted and cooled slightly

Filling
2 ounces cream cheese, room temperature
2 tbsp. grated key lime zest (or more, I used at least 3 tbsp)
Pinch table salt
1 can (14 ounces) sweetened condensed milk
1 large egg yolk
1/2 cup key lime or regular lime juice

Garnish (optional)
3/4 cup shredded sweetened coconut, toasted until golden and crisp (I use the oven for this. Takes about 5 minutes at 375 degrees).

Method
Adjust oven rack to middle position and heat oven to 325 degrees. Cut about 12-inch length extra-wide heavy foil; fold cut edges back to form 7 1/2 inch width. With folded sides facing down, fit foil securely into bottom and up sides of 8-inch square baking pan, allowing excess to overhang pan sides. Spray foil with non-stick cooking spray.

To make the crust: In bowl of food processor, pulse animal crackers until broken down, about ten 1-second pulses; process crumbs until evenly fine, about 10 seconds (you should have about 1 1/4 cups crumbs). Add brown sugar and salt; process to combine, ten to twelve 1-second pulses (if large sugar lumps remain, break them apart with fingers). Drizzle butter over crumbs and pulse until crumbs are evenly moistened with butter, about ten 1-second pulses.

Press crumbs evenly and firmly into bottom of prepared pan. Bake until deep golden brown, about 18-20 minutes. Cool on wire rack while making filling. Do not turn off oven.

To make the filling: While crust cools, in medium bowl, stir cream cheese, zest, and salt with rubber spatula until softened, creamy, and thoroughly combined. Add sweetened condensed milk and whisk vigorously until incorporated and no lumps of cream cheese remain; whisk in egg yolk. Add lime juice and whisk gently until incorporated (mixture will thicken slightly).

To assemble and bake: Pour filling into crust; spread to corners and smooth surface with rubber spatular. Bake until set and edges begin to pull away slightly from sides, 15-20 minutes (mine took much longer, about 25-30 minutes). Cool on wire rack to room temperature, 1- 1 1/2 hours. Cover wil foil and refrigerate until thoroughly chilled, at least 2 hours.

Loosen edges with paring knife and lift bars from baking pan using foil extensions; cut bars into 16 squares. Sprinkle with toasted coconut, if using and serve.

Note: Leftovers can be refrigerated up to 2 days; crust wil soften slightly. Let bars stand at room temperature about 15 minutes before serving.

Chocolate Earl Grey Truffles

And thus concludes the tripartite truffle adventure. Earl grey also seems to be a flavor popping up everywhere these days and I wanted to try my hand at getting the tea flavor into chocolate.

Well, that part turned out to be amazingly easy.  Just infuse cream with earl grey leaves and leave to steep for about 5 minutes (if you can make tea, you can make these). When combined with the chocolated, it gave it a wonderfully subtle earl grey flavor. Total thumbs up from me.
The only issue with this recipe is that it didn't call for the truffles to be coated with another layer of melted chocolate as the previous two truffle recipes. This left the truffles resembling fudge rather than truffles. Now, this was not a flavor problem in the least. But, it did make the process of eating the truffles a bit of a sticky mess. I eventually decided to go ahead and dip these chocolates in another layer of chocolate, leaving them with this nice hard shell, making them much easier to eat. Either way though, they are delicious! And oh so refined.

Ingredients

2/3 cup heavy cream
2 tablespoons unsalted butter, cut into 4 pieces and softened
2 teaspoons loose Earl Grey tea leaves
6 oz fine-quality bittersweet chocolate (not unsweetened), chopped + 12 oz for outer coating (optional)
1 cup unsweetened Dutch-process cocoa powder

Method

Bring cream and butter to a boil in a small heavy saucepan and stir in tea leaves. Remove from heat and let steep 5 minutes.

Meanwhile, finely grind chocolate in a food processor and transfer to a bowl. Pour cream through a fine-mesh sieve onto chocolate, pressing on and discarding tea leaves, then whisk until smooth. Chill ganache, covered, until firm, about 2 hours.

Spoon level teaspoons of ganache onto a baking sheet. Put cocoa in a bowl, then dust your palms lightly with it. Roll each piece of ganache into a ball (wash your hands and redust as they become sticky). Drop several balls at a time into bowl of cocoa and turn to coat. Transfer as coated to an airtight container, separating layers with wax paper.

Optional Extra External Chocolate Coat: 

Line 13x9x2-inch baking sheet with foil. Place remaining 12 ounces chocolate in medium metal bowl over saucepan of barely simmering water (do not allow bottom of bowl to touch water); stir until chocolate is melted and smooth and thermometer inserted into chocolate registers 115°F. Remove bowl from over water. Working quickly, submerge 1 truffle in melted chocolate. Using fork, lift out truffle and tap fork against side of bowl to allow excess coating to drip off. Transfer truffle to prepared sheet.

Truffles can be made 1 week ahead and chilled, or 1 month ahead and frozen in an airtight container.

Caramel-Dark Chocolate Truffles with Fleur de Sel (or Hawaiian Pink Salt)

Another truffle recipe. Well, I was on a truffle roll. Everywhere you turn these days, there seems to be another version of caramel/fleur de sel recipes. I actually hadn't tried one, but found these online (again, via Bon Appetit) and they looked delicious enough to try. And since I was already in a truffle-y mood, why not? I was not, however, about to go out hunting for the magical mystical fleur de sel that the recipe advocated. I had kosher salt, sea salt, flavored salt, and even Hawaiian pink salt (a gift from a friend) in my cupboard. I was not about to go out and buy yet another version of salt for truffles. 
Although I was curious as to what the big deal was with the product all of a sudden. It seems everywhere chefs are advocating using it instead of regular salt but for all my searching, I'm still not sure why. Apparently, it is supposed to have a more delicate flavor than regular sea salt (and the fact that it is "hand harvested" always goes a long way for gourmet products) but I haven't found anywhere that says you can't substitute a regular sea salt for any recipe that calls for it.
So hey, if you have it, by all means, go ahead and use it. I used the pink sea salt just because I thought it looked nice. And they still tasted delicious.  
Ingredients 

20 ounces bittersweet or semisweet chocolate, finely chopped, divided
1/3 cup sugar
2 tablespoons water
2/3 cup whipping cream
1/4 teaspoon fleur de sel (or sea salt or, for me, Hawaiian pink sea salt)
1/2 cup unsweetened cocoa powder
Additional fleur de sel (or whatever salt you're using)

Method

Place 8 ounces chocolate in metal bowl over saucepan of barely simmering water (do not allow bottom of bowl to touch water); stir until chocolate is smooth (This part can be tricky. For help with this, see my note for Gingerbread Truffles). Remove chocolate from over water.

Combine sugar and 2 tablespoons water in small saucepan. Stir over medium heat until sugar dissolves, occasionally brushing sides of pan with wet pastry brush. Increase heat; boil until syrup is deep amber color, brushing down sides and swirling pan occasionally, about 4 minutes. Add cream (mixture will bubble). Stir over very low heat until caramel is smooth. Mix caramel and 1/4 teaspoon fleur de sel into melted chocolate. Chill until truffle filling is firm, at least 3 hours.

Place cocoa in bowl. Using 1 tablespoon truffle filling for each truffle, roll into balls, then roll in cocoa. Arrange on baking sheet. Cover; chill overnight.

Line 13x9x2-inch baking sheet with foil. Place remaining 12 ounces chocolate in medium metal bowl over saucepan of barely simmering water (do not allow bottom of bowl to touch water); stir until chocolate is melted and smooth and thermometer inserted into chocolate registers 115°F. Remove bowl from over water. Working quickly, submerge 1 truffle in melted chocolate. Using fork, lift out truffle and tap fork against side of bowl to allow excess coating to drip off. Transfer truffle to prepared sheet.

Repeat with remaining truffles. Sprinkle truffles lightly with additional fleur de sel. Let stand until coating sets, at least 1 hour. (Can be made 1 week ahead. Cover and chill. Bring to room temperature before serving.)

Gingerbread Truffles

 We may be a bit past the time of year for gingerbread. But hey, things that are rich, delicious, and covered with chocolate never go out of season. Behold: gingerbread truffles. I'm not a huge huge fan of gingerbread by itself but these truffles, well, they take all the potential dryness and bread-iness of usual gingerbread and, well, make it exponentially better. By taking out the bread and adding chocolate. 
And who can argue with that?
The original recipe (from Bon Appetit, December 2005) called for half of these to be dunked in semi-sweet chocolate but as I'm a sucker for white chocolate (and I was making other kinds of semi-sweet truffles), I decided to go all white chocolate for this recipe. And I was pleased with my decision. Very pleased. 
Ingredients

3/4 cup whipping cream
10 whole allspice
10 whole cloves
1 tablespoon mild-flavored (light) molasses
1 1/2 teaspoons grated peeled fresh ginger
1/2 teaspoon ground cinnamon
Pinch of salt

7 ounces bittersweet (not unsweetened) or semisweet chocolate, chopped

7 ounces plus 12 ounces high-quality white chocolate (such as Lindt or Perugina), chopped
1/2 cup chopped crystallized ginger plus additional for garnish

Method

Bring first 7 ingredients just to boil in heavy medium saucepan; remove from heat and let steep 1 hour.
Combine 7 ounces bittersweet chocolate and 7 ounces white chocolate in large metal bowl set over saucepan of simmering water; stir until chocolate is melted and smooth (see chef's note at bottom for help with this). Remove bowl from over water. Strain cream mixture into chocolate; stir to blend. Stir in 1/2 cup chopped crystallized ginger. Chill filling until firm, at least 3 hours.

Line baking sheet with parchment. Using 1-inch melon baller, scoop filling and roll between palms to form balls. Place on parchment. Chill truffles at least 2 hours.

Line another baking sheet with parchment. Place 12 ounces white chocolate in another medium metal bowl set over saucepan of simmering water; stir until melted and smooth. Remove bowl from over water. Cool until thermometer inserted into chocolate registers 100°F. Hold 1 truffle between thumb and index finger; dip halfway into white chocolate. Place on prepared sheet. Repeat with remaining truffles. If desired, press small pieces of crystallized ginger atop truffles. Chill until firm, about 30 minutes. (Can be made 1 week ahead. Cover; keep chilled.)

Chef's Note: Now, truffles are the latest "hip" make-it-yourself gift and, as a "hip gift-giver" myself, I admit, these work well. They look impressive and well, who doesn't like truffles? There is a trick to working with chocolate though. When double-boiling/melting the chocolate, you run the risk of having the chocolate separate on you, making it go all glossy and nasty. It won't fridge right, and it'll make it impossible to work the ganache into balls. If this does happen, never fear! If you see your chocolate start to separate, throw a dash (only a dash!) of hot/boiling water into the melting chocolate. The chocolate will come right back together and you can get on with your ganache making in safety. This happens to me almost every time I make anything with chocolate and without this trick, I would have given up chocolate long ago.

Brandy Hard Sauce (with Pear and Sour Cherry Brown Betty)

As I've lived in England for some time now, I felt that I had a pretty good understanding of the "dessert" culture over there across the pond. The fruit cakes, the mince pies, the gooseberry fools, the bread and butter pudding, the bannoffee pie...
All these desserts seemed to revolve around the basic (fundamental) concepts of butter, bread, and cream. I mean, they put custard on everything there. But, imagine my surprise when I learned (from an American newspaper of all places) about a concept so absolutely wonderful that I began to suspect that the Brits were keeping it from me on purpose. Why wouldn't you share something as wonderful as sweet whipped cream with alcohol in it?!

Even the concept is genius, showing just enough English organization and forethought with a healthy appreciation of alcohol (and a desire to include it in every meal). Imagine whipped cream, solidified. not frozen, mind you. Just solid. Like cold butter solid (well, because it's basically just cold butter).

The recipe from the New York Times pared it with a cherry and pear brown betty, which was delicious (especially as the cherries were also soaked in brandy), but really, any dessert will work with this. Particularly warm ones so you can watch the hard sauce melt into it, infusing your chosen dessert with buttery alcoholic goodness. Oh yes.

Hard Sauce

Ingredients

12 tablespoons unsalted butter, softened
1 1/4 cups confectioners’ sugar
1/4 cup Cognac or brandy
Pinch of grated nutmeg

Method

To make the hard sauce, in a medium bowl set an electric mixer on high and beat the butter until fluffy.
Reduce speed to low and add confectioners’ sugar. When the sugar is incorporated, set the speed back to high.
Add the brandy 1 tablespoon at a time and beat until combined. Beat in the nutmeg.
Transfer the sauce to a ramekin or bowl, cover and refrigerate.

Hard sauce can be made at least a week ahead, but allow it to come to room temperature before serving (about 20 minutes). 

Brown Betty

Ingredients
 
3 tablespoons Cognac or brandy
2/3 cup dried cherries
1/2 cup sugar
1 teaspoon grated nutmeg
1/2 teaspoon ground cinnamon
3 1/2 cups white bread or challah, cut into 1/2-inch cubes
7 tablespoons unsalted butter, melted
Grated zest of 1 lemon
2 pounds ripe pears(about 5 pears), peeled, cored and thinly sliced
3 tablespoons hard cider or apple cider.

Method

To make the brown betty, heat the Cognac or brandy in a small saucepan over medium heat. When the liquid has come to a simmer, turn off the heat and add the cherries. Allow them to absorb most of the liquid, about 20 minutes.

While cherries are standing, heat oven to 375 degrees. In a large bowl, whisk together the sugar, nutmeg and cinnamon. Set aside 2 tablespoons of the sugar mixture for sprinkling. Add bread, butter and lemon zest. Toss until sugar has dissolved and bread is completely coated.

In a shallow 1 1/2-quart gratin dish (or a 9-by-9-inch pan), scatter a little under half the bread cubes. Layer half the pear slices and half the cherries (along with any liquid) on top. Cover with a cup of bread crumbs and sprinkle with 1 1/2 tablespoons cider. Layer remaining pears, cherries and bread. Sprinkle top with remaining cider and reserved sugar-and-spice mixture.

Cover dish with aluminum foil and bake for 40 minutes. Take off foil and continue baking, until crumbs are golden brown and pears are very soft, about 15 minutes more. Serve warm with dollops of hard sauce.

Yield: 6 to 8 servings.