Sweet Potato Buttermilk Cornbread

It finally happened.
I used a Paula Deen recipe.

Sigh.

Now, up until a few weeks ago, I had nothing against the woman. Sure, she was the instigator of the famous doughnut cheeseburger, which probably wasn't doing anything for the nation's waistline. But, hey, I'd seen undergraduates come up with equally as fiendish (and disgusting) food inventions.
Anthony Bourdain's various invectives against her also brought out the sympathy vote in me. Yes, she used lots of butter in her recipes.
But Tony, what do you think is making all those Michelin-starred dishes so delicious? Carrots?

But her recent admission of having Type 2 Diabetes and her concurrent endorsement of a diabetes medication was off-putting. She had sworn on the "harmlessness" of her food for years. Her admission to a potentially life-threatening disease and simultaneous money-making scheme was a bit much.

But still. There's no denying. She knows southern food. And when it comes to cornbread and the Super Bowl, you gotta go Deen.

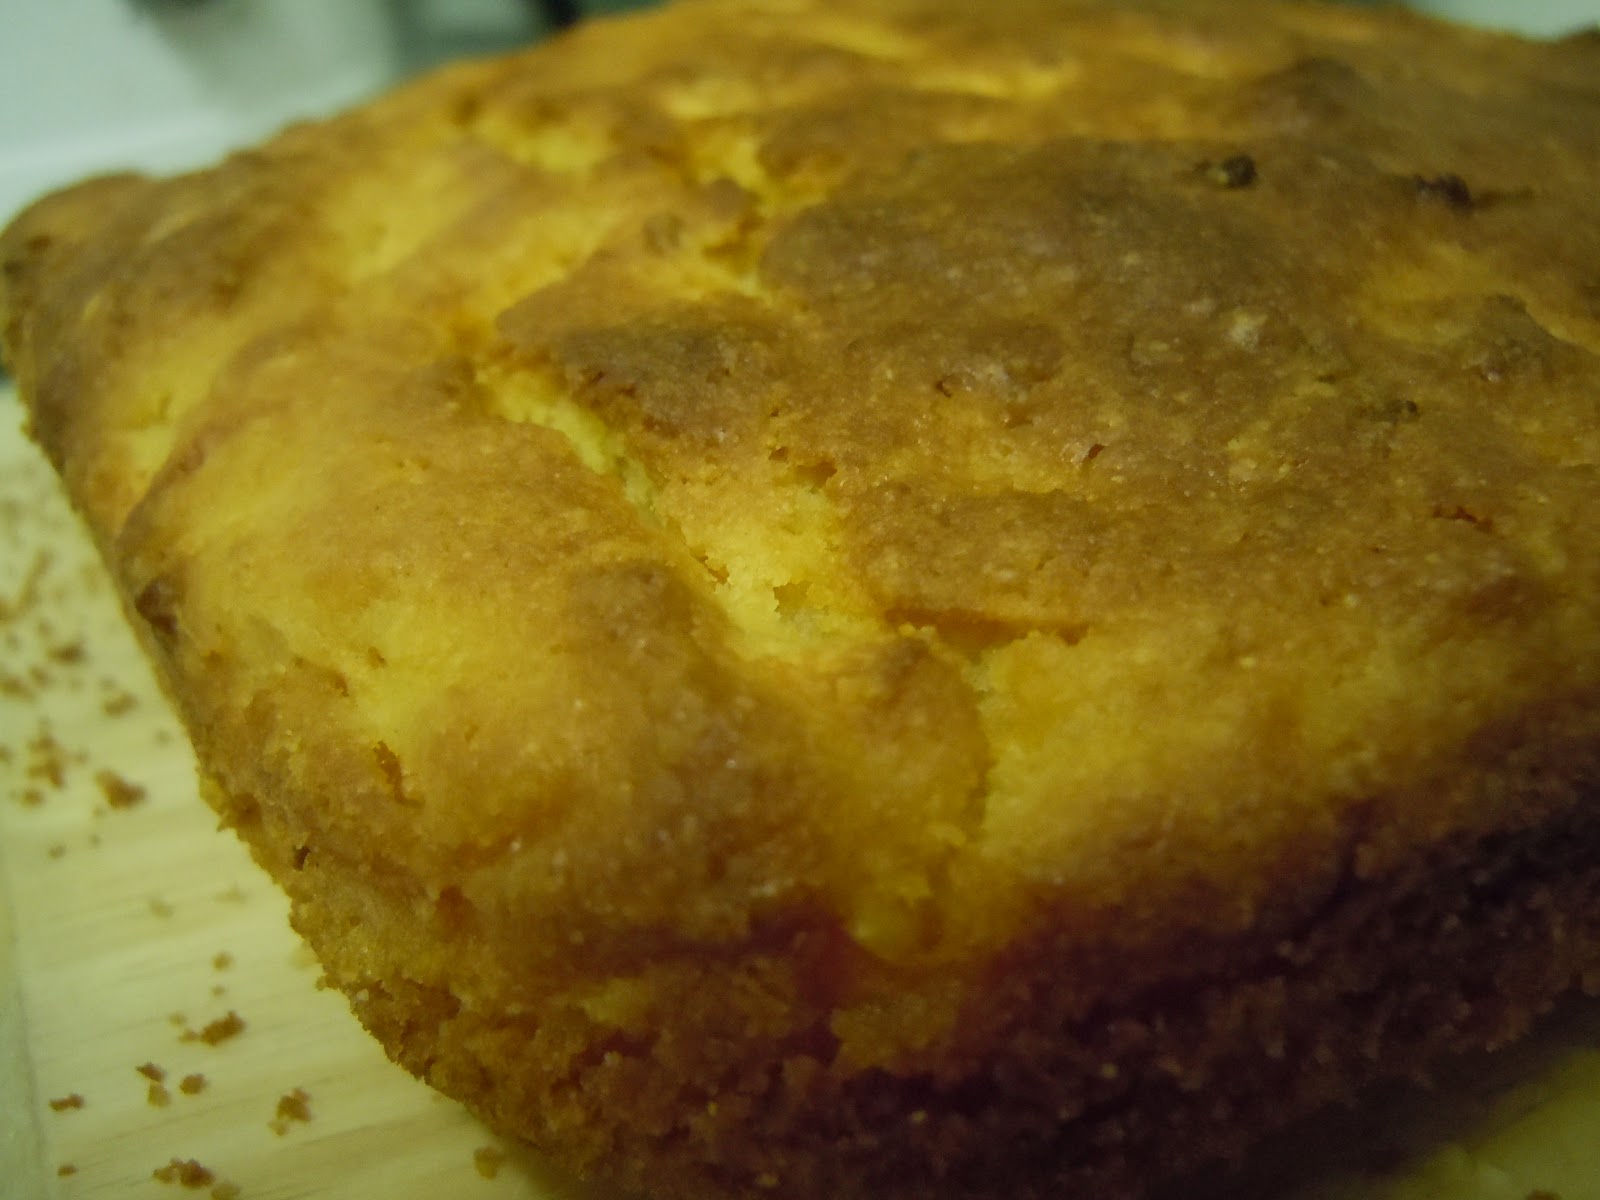
And that's exactly what I did. And I was more than happy with the result. The sweet potato in this recipe gives the bread a nice smooth and moist earthiness. It balances out the cornmeal in lovely lovely ways.

So did I feel slightly hypocritical in using her recipes, subscribing to the media blitzkrieg that has surrounded her in the last few weeks? Sure.
But hey, that cornbread was delicious.

Ingredients

1 cup all purpose flour

1 cup cornmeal
¼ cup sugar
3 teaspoons baking powder
1 teaspoon salt
¼ cup butter
1 egg
1 cup buttermilk
1 ½ cup peeled and grated sweet potato

Method


Preheat oven to 425 degrees.

In a large bowl, combine flour, cornmeal, sugar, baking powder and salt. Cut in butter with two forks, a pastry cutter or your fingers until mixture is crumbly.

In a medium mixing bowl beat egg until frothy. Stir in buttermilk and sweet potatoes. Pour mixture into flour mixture stirring just until blended. Pour batter into greased 9x9x2 inch baking dish.

Bake 25 minutes or until center springs back when pressed (my version took about 35 minutes). Cool in pan on wire rack. Cut into squares and serve.

Super Bowl Sunday: Stout and Bean Chili

Most people I know have views about chili. Do you use beans? How spicy should it be? Are tomatoes forbidden? Do you serve it with pasta (don't ask, I don't understand people from Cincinnati either)? Or maybe over rice (clearly a British invention that defies all sense of decency)? The Texans insist that it should be without vegetables, more Northern types insist of a garden-full in their pot.
Also, what about fixins'? Sour cream? Cheese? Mango chutney (shudder)?
It seems when cooking this dish, you're liable to offend *someone*.

Now, being a Southwesterner transplanted to the British Isles, I come from a "mixed background" when it comes to chili. As my family sadly didn't have a prized recipe, handed down from generation to generation, we experimented with a number of different varieties. Indeed, the most popular chili in our house was what some would call absolute sacrilege: lean turkey mince in a rich broth of white beans and barley.
It was delicious.

But when Super Bowl came around, and I found myself the lone American in the bunch, I realized I needed to step up to the chili challenge. The aim was to cook the best darn chili around, relying on the various regional traditions of the USA. It would be a hodge-podge, sure. But, hey, America is the mixing pot, after all. It's only fair that the chili should be as well.

So I went scouring. I was intrigued by Slate's bold claims of the "best chili recipe ever" (this was not to be the last claim of this kind...not by far). It insisted that black beans, chocolate, and stout were the magic ingredients to a superb chili. I was not inclined to disagree. But then it insisted on using tempeh as the base. Whoa there, fruits and nuts. If we're going to go the chili route, we'd best make it for the non-vegetarians among us.

Then there was Epicurious' "True Texas Chili" which seemed a fair bet. I liked its use of masa harina to  bulk out the broth. But there wasn't enough "stuff" in it. Meat and sauce were good, sure. But I wanted some beans. Some tomatoes. Something to give it more texture.

And, finally, there was the inimitable Bobby Flay, another whose views on chili should be respected. His was certainly an upmarket version (with cremas and avocado relish) which seemed a bit much for a football game. But his use of spices was to be commended.

And so, I took the best from each and created something that was an American mezcla. A little bit of Stout and chocolate. A little bit of Mexican chili spice. A little bit of Texan orthodoxy. It was a full day event, but it was worth it. The end result was a thick complex stew, perfect for game day. Although I ended up backing off my original intention to add more vegetables, I think this version could certainly stand up to more; certainly bell peppers, carrots, and potatoes.

Expatriate Patriots Chili


Ingredients
2 ounces dried, whole New Mexico (California), guajillo, or pasilla chiles, or a combination (6-8 chiles)

1  1/2 teaspoons ground cumin seed

1/2 teaspoon freshly ground black pepper

5 tablespoons lard, vegetable oil, or rendered beef suet

2 1/2 pounds boneless beef chuck, well-trimmed and cut into 3/4-inch cubes (to yield 2 pounds after trimming)

1/3 cup finely chopped onion

3 large cloves garlic, minced
2 cups beef stock, or canned low-sodium beef broth, plus more as needed
2 tablespoons masa harina (corn tortilla flour)
1 15-ounce can kidney beans, drained
1 15-ounce can black beans, drained
1 15-ounce can chopped tomatoes
1 12-ounce bottle of stout
2 teaspoons chopped fresh oregano/1 teaspoon dried oregano/1 teaspoon chopped epazote
1 tablespoon firmly packed dark brown sugar, plus more as needed
1 ounce dark chocolate, roughly chopped
1 1/2 tablespoons distilled white vinegar, plus more as needed
Optional Extras:
Sour cream
Lime wedges
1/3 cup chopped fresh cilantro
grated cheddar cheese
Method


Place the chile sin a straight-sided large skillet over medium-low heat and gently toast the chiles until fragrant, 2-3 minutes per side. Don't let them burn or they'll turn bitter. Place the chiles in a bowl and cover them with very hot water and soak until soft, 15-45 minutes, turning once or twice.

Drain the chiles; split them and remove the stems and seeds (a brief rinse helps remove seeds, but don't wash away the flesh). Place the chiles in the bowl of a blend and add the cumin, black pepper, 1 tablespoon salt, and 1/4 cup water. Puree the mixture, adding more water as needed until a smooth, slightly fluid paste forms (you want to remove all but the smallest pieces of skin). Set the chile paste aside.

Return skillet to medium-high heat and melt 2 tablespoons of the lard. When it begins to smoke, swirl skillet to coat and add half of the beef. Lightly brown on at least two sides, about 3 minutes per side, reducing the heat if the meat threatens to burn. Transfer to a bowl and repeat with 2 more tablespoons of lard and the remaining beef. Reserve.

Let the skillet cool slightly, and place it over medium-low heat. Melt the remaining 1 tablespoon of lard in the skillet; add the onion and garlic and cook gently for 3 to 4 minutes, stirring occasionally. Add the stock, the remaining 2 cups water and gradually whisk in the masa harina to avoid lumps. Stir in the reserved chile paste, scraping the bottom of the skillet with a spatula to loosen any browned bits. Add the kidney beans, black beans, stout, tomatoes, epazote/oregano. Add the reserved beef (and any juices in the bowl) and bring to a simmer over high heat. Reduce heat to maintain the barest possible simmer (just a few bubbles breaking the surface) and cook, stirring occasionally, until the meat is tender but still somewhat firm and 1 1/2 to 2 cups of thickened but still liquid sauce surrounds the cubes of meat, about 2 hours.

Stir in the brown sugar, chocolate, and vinegar thoroughly and add more salt to taste; gently simmer 10 minutes more. At this point, it may look like there is excess sauce. Turn off the heat and let the chili stand for at least 30 minutes, during which time the meat will absorb about half of the remaining sauce in the skillet, leaving the meat bathed in a thick, somewhat fluid sauce. Stir in additional broth or water if the mixture seems too dry. If the mixture seems a bit loose and wet, allow it to simmer a bit more. Adjust the balance of flavors with a bit of additional salt, sugar, or vinegar, if you like.

Olive, Bean, and Sun-Dried Tomato Dip

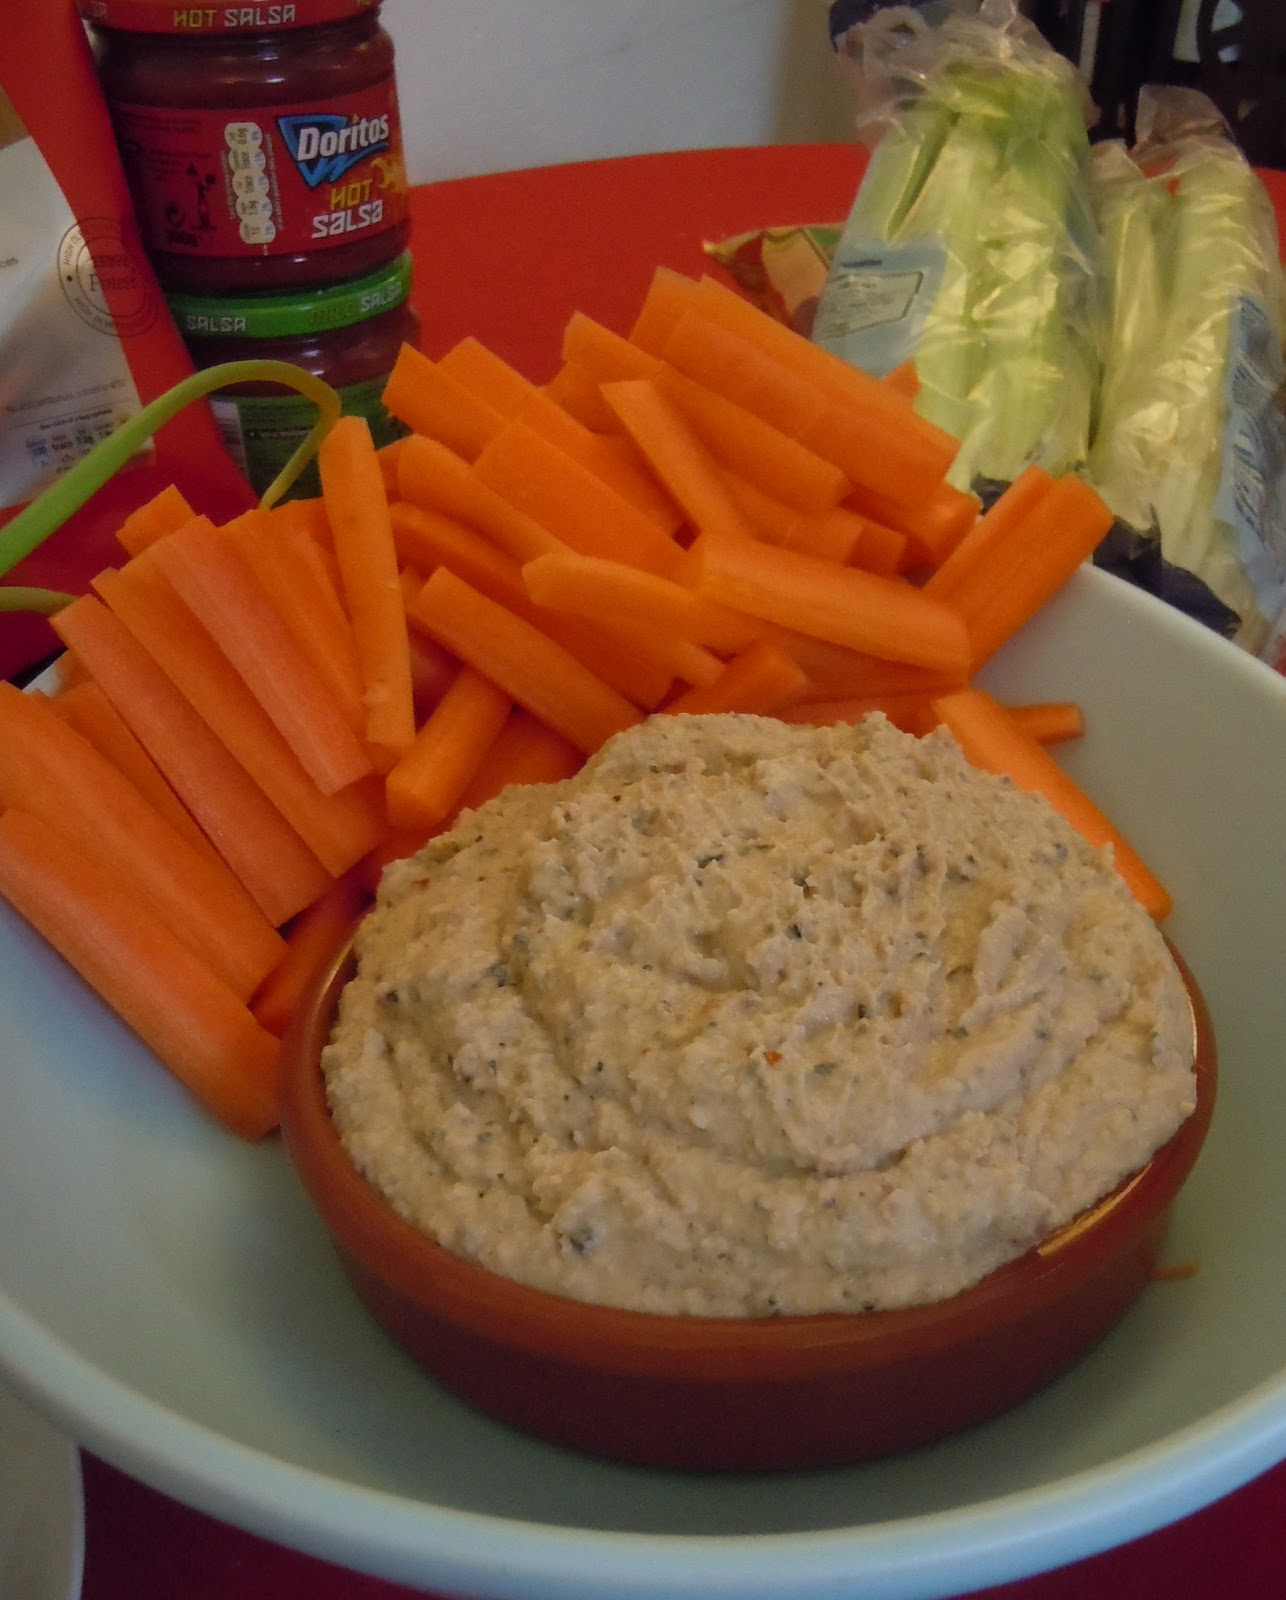
Everyone should have at least one dip under their belts to pull out at various times during the year. Something easy to make and suited to almost every palate. My new-found favorite happens to be one based on three ingredients that I love: beans, olives, and sun-tomatoes. Honestly, how could this go wrong?

It goes fabulously with vegetables (obviously) but also is a mean treat with pita or chips. Oh, and it takes literally 3 seconds to make. Seriously, it's too easy.

Ingredients

2 15-ounce can cannellini (white kidney beans), drained
2 tablespoons olive oil
8-10 black olives (pitted)

3-4 sun-dried tomatoes
Oil from jar of sun-dried tomatoes
Assorted crudités
Pita bread, cut into wedges
Method

Puree beans, olive oil, the olives, sun-dried tomatoes, and oil from the tomatoes in processor until smooth. Season with salt and pepper. Transfer to bowl. 

Drizzle with any leftover tomato oil and a few drops of vinegar. 
Serve with crudités and pita wedges.

Homemade Cheez-Its: Chili and Cheddar Crackers

England may be missing many things, but apart from Lucky Charms (marshmallows for breakfast! What's  not to love?), Cheez-Its are perhaps my biggest US food craving. Try and find a similar cracker in the UK and you'll find yourself fruitlessly searching the cracker aisle. Nothing comes close to the "more-ish" taste of this bite of cheesy bliss. I thought, apart from those willing to smuggle me some from the land of the free, that I would have to go without the little morsels until I returned to the American lands.

Not so!

In my search for Super Bowl foods, I stumbled upon this recipe for chili and cheese crackers. "Zesty", the website promised me. "Addictive little lovelies," it promised. The recipe looked simple enough, why not?

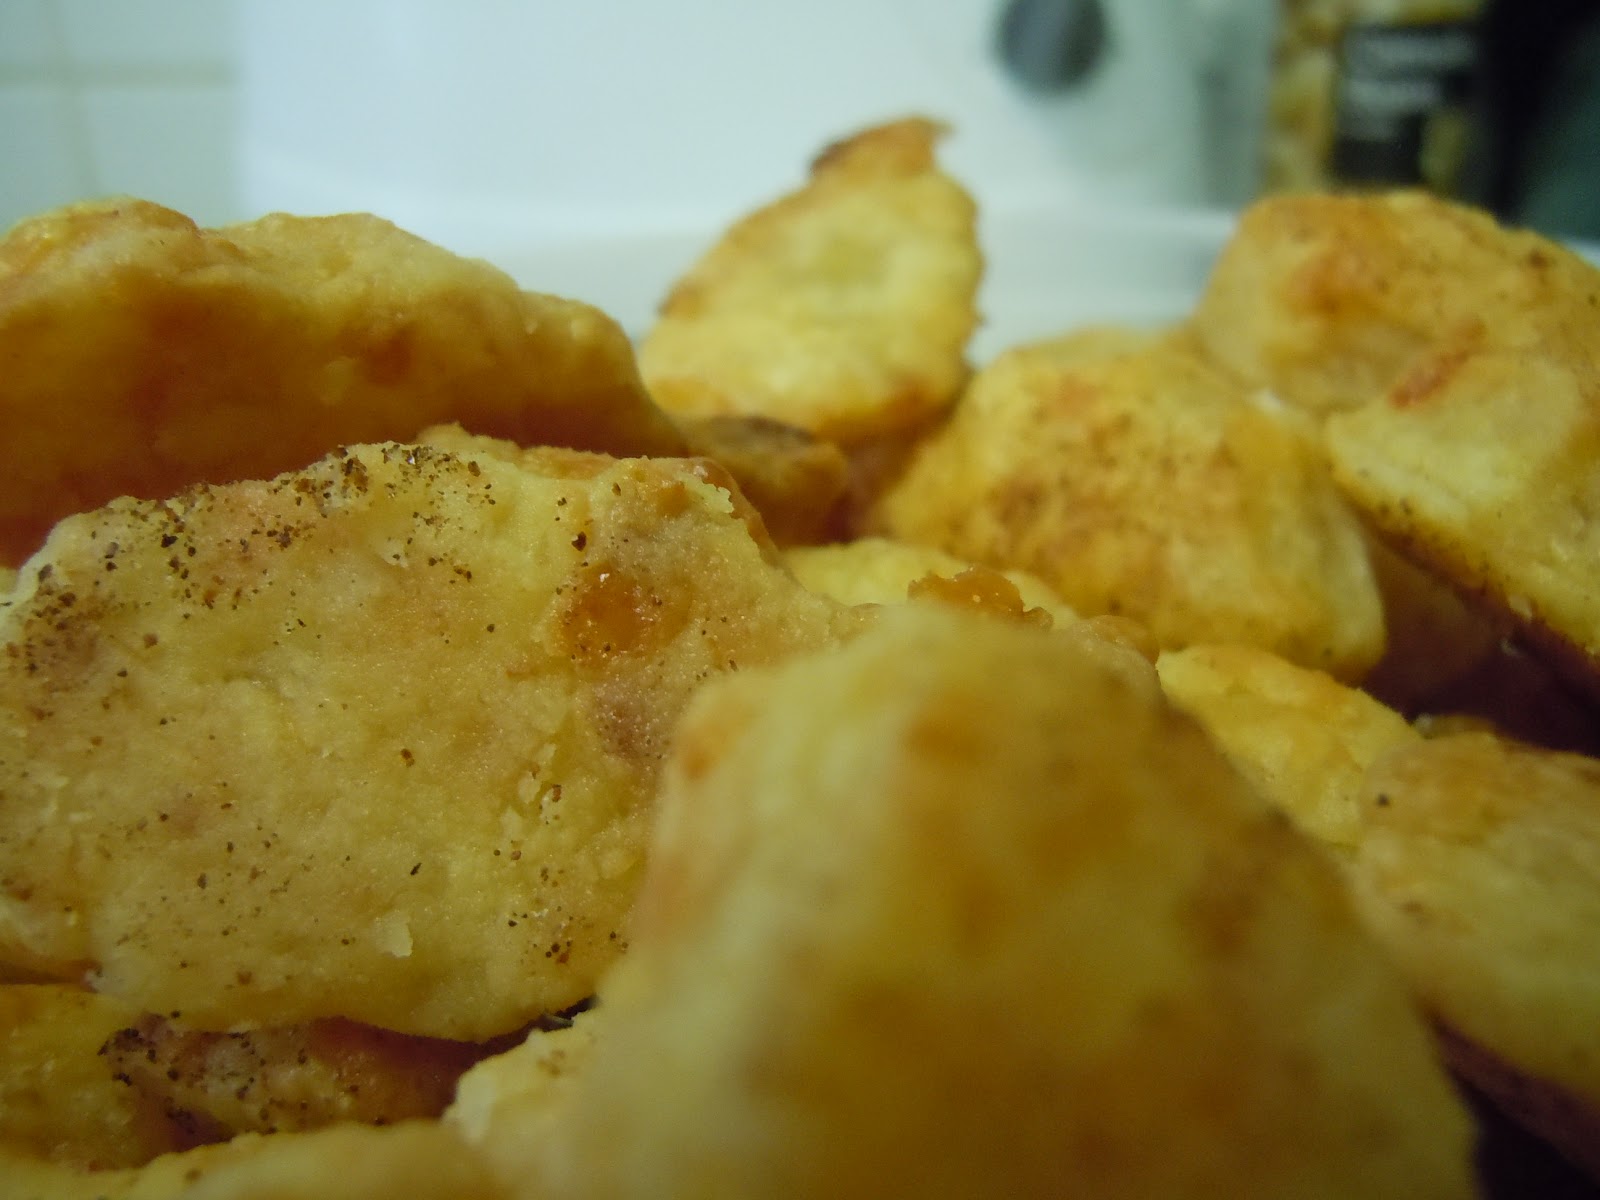
Oh, I had no idea what joy I was setting myself up for. Out from my own oven emerged little puffs of cheesy deliciousness, close enough to the original Cheez-It that I had trouble not scarfing down the whole batch before guests arrived to try them for themselves.

Now, although my previous attempts at crackers had been fairly successful in the taste department, they lacked a certain, how do we say, "aesthetic flair". They looked like a crumbly mess. But after a bit of searching, to my accidental delight, I realized that the "holly" cookie cutter (previously used on this year's Christmas cake) was the perfect size and shape for my newfound Cheez-Its. And lo, unto us, a Cheez-It was born.

Now, the original recipe was dead-on. These things can go from delicious to burned char in the oven in no time at all. So watch these puppies. I found that 20 minutes is just about dead on in terms of timing, but of course, this will depend on your own oven. Just keep a wary eye on them, it'll be worth the effort.

Ingredients

1 cup all-purpose flour, plus more for the work surface (approx. 120 grams)
3/4 teaspoon salt
1 teaspoon crushed red chili pepper flakes
4 tablespoons unsalted butter, chilled and diced (56.7 grams for those of us on metric)
8 ounces best-quality aged Cheddar cheese, grated (227 grams)
3 to 4 tablespoons cold water

Method
1. In a bowl, whisk together the flour, salt, and chilies. Transfer to the bowl of a food processor fitted with the blade attachment. Add the butter and pulse until the mixture resembles coarse meal. Add the cheese and pulse to combine.

2. Add 3 tablespoons of the water, 1 tablespoon at a time, pulsing until the mixture comes together in a ball. Pulse in an additional tablespoon of water if needed to get the dough to hold together. Wrap the dough in plastic wrap and refrigerate for at least an hour.
3. Preheat the oven to 350°F (176°C).
4. Roll the dough out to a 1/8-inch thickness directly onto a baking sheet. (If the dough seems sticky, sprinkle the surface ever so lightly with flour.) Try to be as accurate as you can about the thickness of the dough, as the crackers won’t puff up nicely if the dough is too thin, nor will they be crispy enough if the dough is too thick. Using a cookie or biscuit cutter, a sharp knife, or a fluted pasta cutter, trim the dough into ½-inch diamonds (or any shape you prefer, such as holly).
5. Line 3 baking sheets with parchment paper. Place the dough on the parchment-lined sheets, giving them just enough room so that they are not touching. Bake until the crackers are deep golden brown and crunchy, 20 to 30 minutes, depending on the size of your crackers. Watch the crackers carefully as they go from almost done to a little too done quite quickly. 
6. Sprinkle the crackers with a light dusting of sea salt and some cayenne for an extra kick. Transfer the crackers to wire rack and let cool completely before serving. 
The crackers can stored in an airtight container for up to 1 week, although they are best the first couple of days.