Easy (but delicious) Sour Cream Coffee Cake

Coffee Cake final Now, I'm a firm believer in the joy of pancakes. There are few weekend-related pleasures like making hot, fluffy, buttermilk pancakes on a lazy Saturday or Sunday morning. But the breakfast food world is a wide one, ladies and gentlemen. And despite tried and true pancake pleasures, sometimes its fun to change up your weekend routine. Not that coffee cake is a newbie to the breakfast or brunch world. In my mind at least it appears permanently attached to weekends with house guests, Mother's Days, Christmas Day mornings, you get the idea. And, of course, any meeting, no matter the subject, that took place before noon was obliged to have it on offer. You know, somewhere at the back of the room, nestled amidst the jugs of Tropicana and the carafes of moderately warm coffee. But that store bought stuff doesn't hold a candle to the homemade variety.

Of course, it's a bit of a misnomer to call it coffee cake, as it doesn't contain any actual coffee. It exists as breakfast food, simply on the justification that it is cake that one serves *with* coffee. And on those weak legs alone, it achieves authentic breakfast or brunch status. Cake for breakfast. Just because someone said it went well with coffee. Amazing.

Anyway, there are about 1,001 recipes for coffee cake. Like many simple breakfast foods, almost every family has the "perfect" recipe for it, handed down over generations. Now, if my family ever had one, it has sadly been lost. But thankfully, books such as Edna Staebler's Food that Really Schmecks, first published in the 1960s, has come to the rescue. Based on a collection of recipes from Mennonite counties in southern Ontario, the book reads like your grandmother's cooking notes. For example: "Sometimes Mother would buy a piece of headcheese at the Kitchener Market, put it in a pot of 1/4 cup of water and let it heat till it melted and bubbled; then she'd serve it to us over boiled hot potatoes. With an endive, lettuce or dandelion salad, it was a real treat". It's an amazing testament to how folks used to cook and eat. This is not high dining cooking, but a much richer cultural touchstone.

Although some of her dishes don't feature regularly in many kitchens anymore (I'm looking at you "Chellied/Jellied Chicken"), her recipes are still ironclad. And that's why we turned to her for her solid expertise on the institution that is the coffee cake. And it was exactly what I was hoping for. Easy. Straightforward. Delicious. Don't be fooled by how easy the recipe looks. This is the coffee cake of legend.

Makes: 1 round cake

Ingredients

1/2 cup butter (unsalted) or margarine

1 cup white sugar

2 eggs, beaten

1 teaspoon vanilla

1 cup sour cream

1 teaspoon baking soda

1 3/4 cup cake flour (sifted)

2 teaspoons baking powder

1/2 cup brown sugar

1 tablespoon cinnamon

3/4 cup finely chopped nuts (e.g. walnuts)

Method

Preheat the oven to 350 degrees.

Blend butter and sugar together until creamy. Then add the eggs and vanilla and beat well. In a separate bowl, combine the sour cream and the baking soda with a spoon (the cream should expand, almost doubling in volume). In a separate bowl, combine the flour with the baking powder.

Alternating, add the flour mixture and the sour cream mixture to the butter, sugar, eggs, and vanilla mixture. Spread half of the batter in a greased cake pan (either a 9x9 square pan or a circular springform pan).

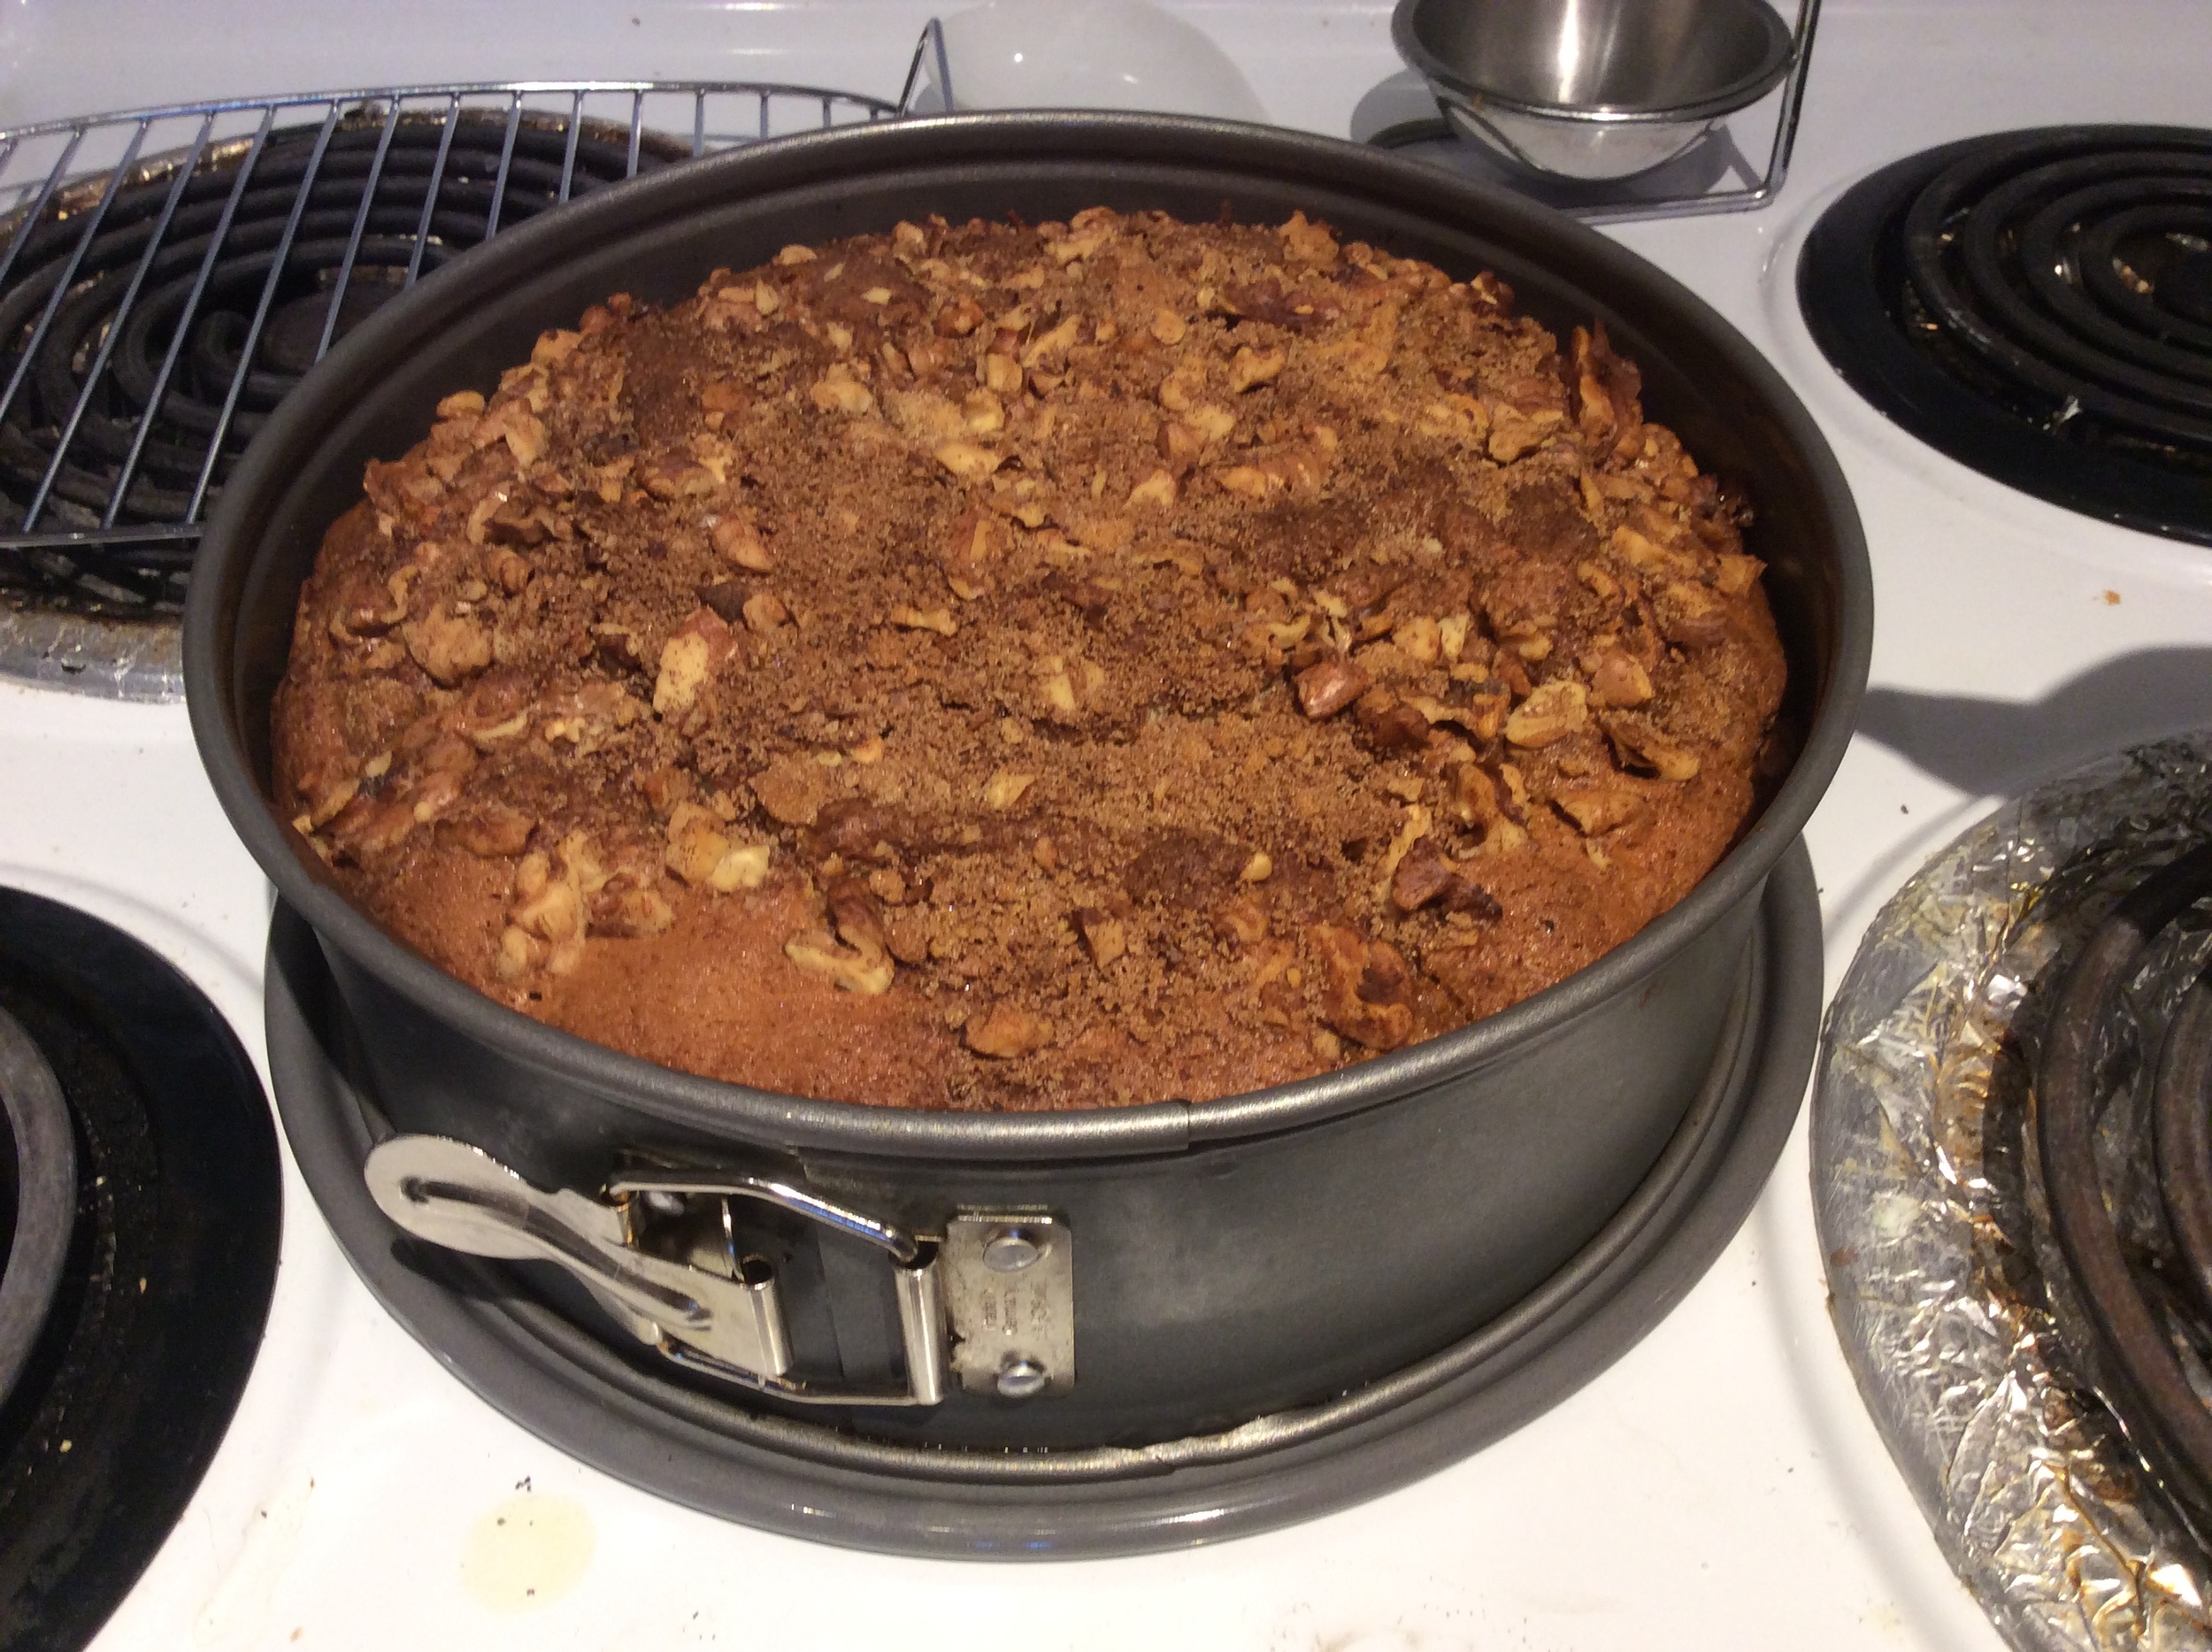
In a bowl, combine the brown sugar, cinnamon, and nuts. Sprinkle half of this mixture over the batter. Then cover with the remaining batter and sprinkle the rest of the topping on top.

Bake for 45 minutes. Let cool in the pan for about 5 minutes before digging in.

If there's any left, it can be wrapped in foil and reheated.

IMG_0873

Refrigerator Dill Pickles

IMG_2092 I love me a good pickle. And it is officially "canning season" up here in Toronto. Coming from a land devoid of seasons (i.e. Phoenix), the idea of an annual activity of canning, jarring, or preserving the year's harvest was entirely foreign to me. The first August I was in Canada, I was amazed to see pallets upon ballets of mason jars in local supermarkets and boxes of gelatin or pectin stocked to the roof. First I thought the Canadians were just *really into* the whole mason jar trend. But, turns out, they had a proud jarring tradition. That they actually used mason jars for, you know, what mason jars was originally intended for.

But I digress.

Pickles (or even dill pickles) are perhaps the most well-known of the old-school preserves. Actually the name is a bit of both a misnomer and a catch-all. Technically, this recipe is for pickled cucumbers in particular. As the concept of "pickling" can really be applied to any foodstuff: onions, garlic, watermelon, peppers, etc. It's only in recent years that referring generally to "pickles" implies cucumbers in particular.

Anyway. Pickles. I love pickles. But the traditional jarring/pickling method was always a little too intense for me. I don't have a fruit cellar. I don't need to store pints upon pints of preserves away for the long winter. I'm a 21st century gal with a supermarket just steps away. That doesn't take away the sheer pleasure of home pickling though. Everyone I've ever met who enjoys a good pickle has fairly specific qualifications for what exactly makes a "good pickle". Spicy? Extra dill? Sweet? The variations are endless. So if you're got a little time (and I'm talking about 20-30 minutes here) and you like yourself a good pickle, it might be a good idea to try your hand at it.

This recipe also gets us away from the traditional preparation method, known as "processing", of sterilizing your jars in a hot water bath. Now, you're more than welcome to add this step if shelf-stable pickles are up your alley (and you've got a place to store reams upon reams of preserves). But I'm more than happy to keep a couple of jars in the fridge & eat them over the course of a few weeks rather than all winter long. Yes, refrigerator pickles may not last as long, but what kind you make all depends on how much space you have (and, really, how much patience you have). I have very little of either. So let's call this a recipe for impatient pickles.

I've borrowed from a number of different recipes for refrigerator pickles for this one (particularly thekitchn's very excellent introduction to dill pickles). As with most pickling recipes, the variations are endless. This is just one among many and, obviously, feel free to change almost any of the spices or vinegar varieties according to your own taste.

The key here is really the combination of cucumbers + hot vinegar + spices + time = pickles. That's all you need to know as a basic pickler.

Makes 4 2-pint jars of refrigerator pickles

IMG_0877

Ingredients

40-50 Persian cucumbers, washed and cut into spears

16 garlic gloves, peeled

8 tsp dill seed

4 tsp celery seed

4 tsp red pepper flakes

4 tsp red peppercorns (or black, whatever you have/prefer)

1 bunch fresh dill weed

4 tsp pickling spice (available in most spice sections of supermarkets or make your own of a variety of dill seed, coriander, celery seed, cardamom, etc.)

12 tbsp salt (we used sea salt)

8 cups vinegar (we used a majority of white vinegar with a splash of white wine vinegar, but you can substitute whatever flavor you prefer: rice vinegar, red wine vinegar, cider vinegar, etc.)

IMG_2093

Method

  1. Wash and dry your jars and lids. If you were planning to make shelf-stable pickles, you'd need to process them (cook them in a hot water bath, but since we're making refrigerator pickles, we're skipping this step)

2. Add the spices to the bottom of the jars. I put 1 tsp red pepper flakes, 1 tsp red peppercorns, 1 tsp celery seed, 1 tsp dill seed, 4 garlic cloves, 1 tsp pickling spice, and 1/4 of my fresh dill into the bottom of each. But, as I said, the variation here is entirely up to you.

3. Pack the cucumbers into the jar. Pack them as tightly as you can without smashing them.

4. Combine the vinegar, water, and salt in a large saucepan. Bring to a rolling boil.

5. Ladle the hot vinegar mixture into each of the jars. Fill each jar to within 1/2 inch of the top. Don't worry if you don't use all the brine.

6. Tap the jars gently against the counter to remove any excess air bubbles.

7. Seal the jars tightly with the lids.

8. Allow the jars to come to room temperature. Store them in the fridge. Try to let them sit for at least 48 hours before sampling them. The longer they age, the better they will be. They will keep in the fridge for several weeks.

IMG_0880

Hello world!

Welcome to WordPress.com. After you read this, you should delete and write your own post, with a new title above. Or hit Add New on the left (of the admin dashboard) to start a fresh post. Here are some suggestions for your first post.

  1. You can find new ideas for what to blog about by reading the Daily Post.
  2. Add PressThis to your browser. It creates a new blog post for you about any interesting  page you read on the web.
  3. Make some changes to this page, and then hit preview on the right. You can alway preview any post or edit you before you share it to the world.