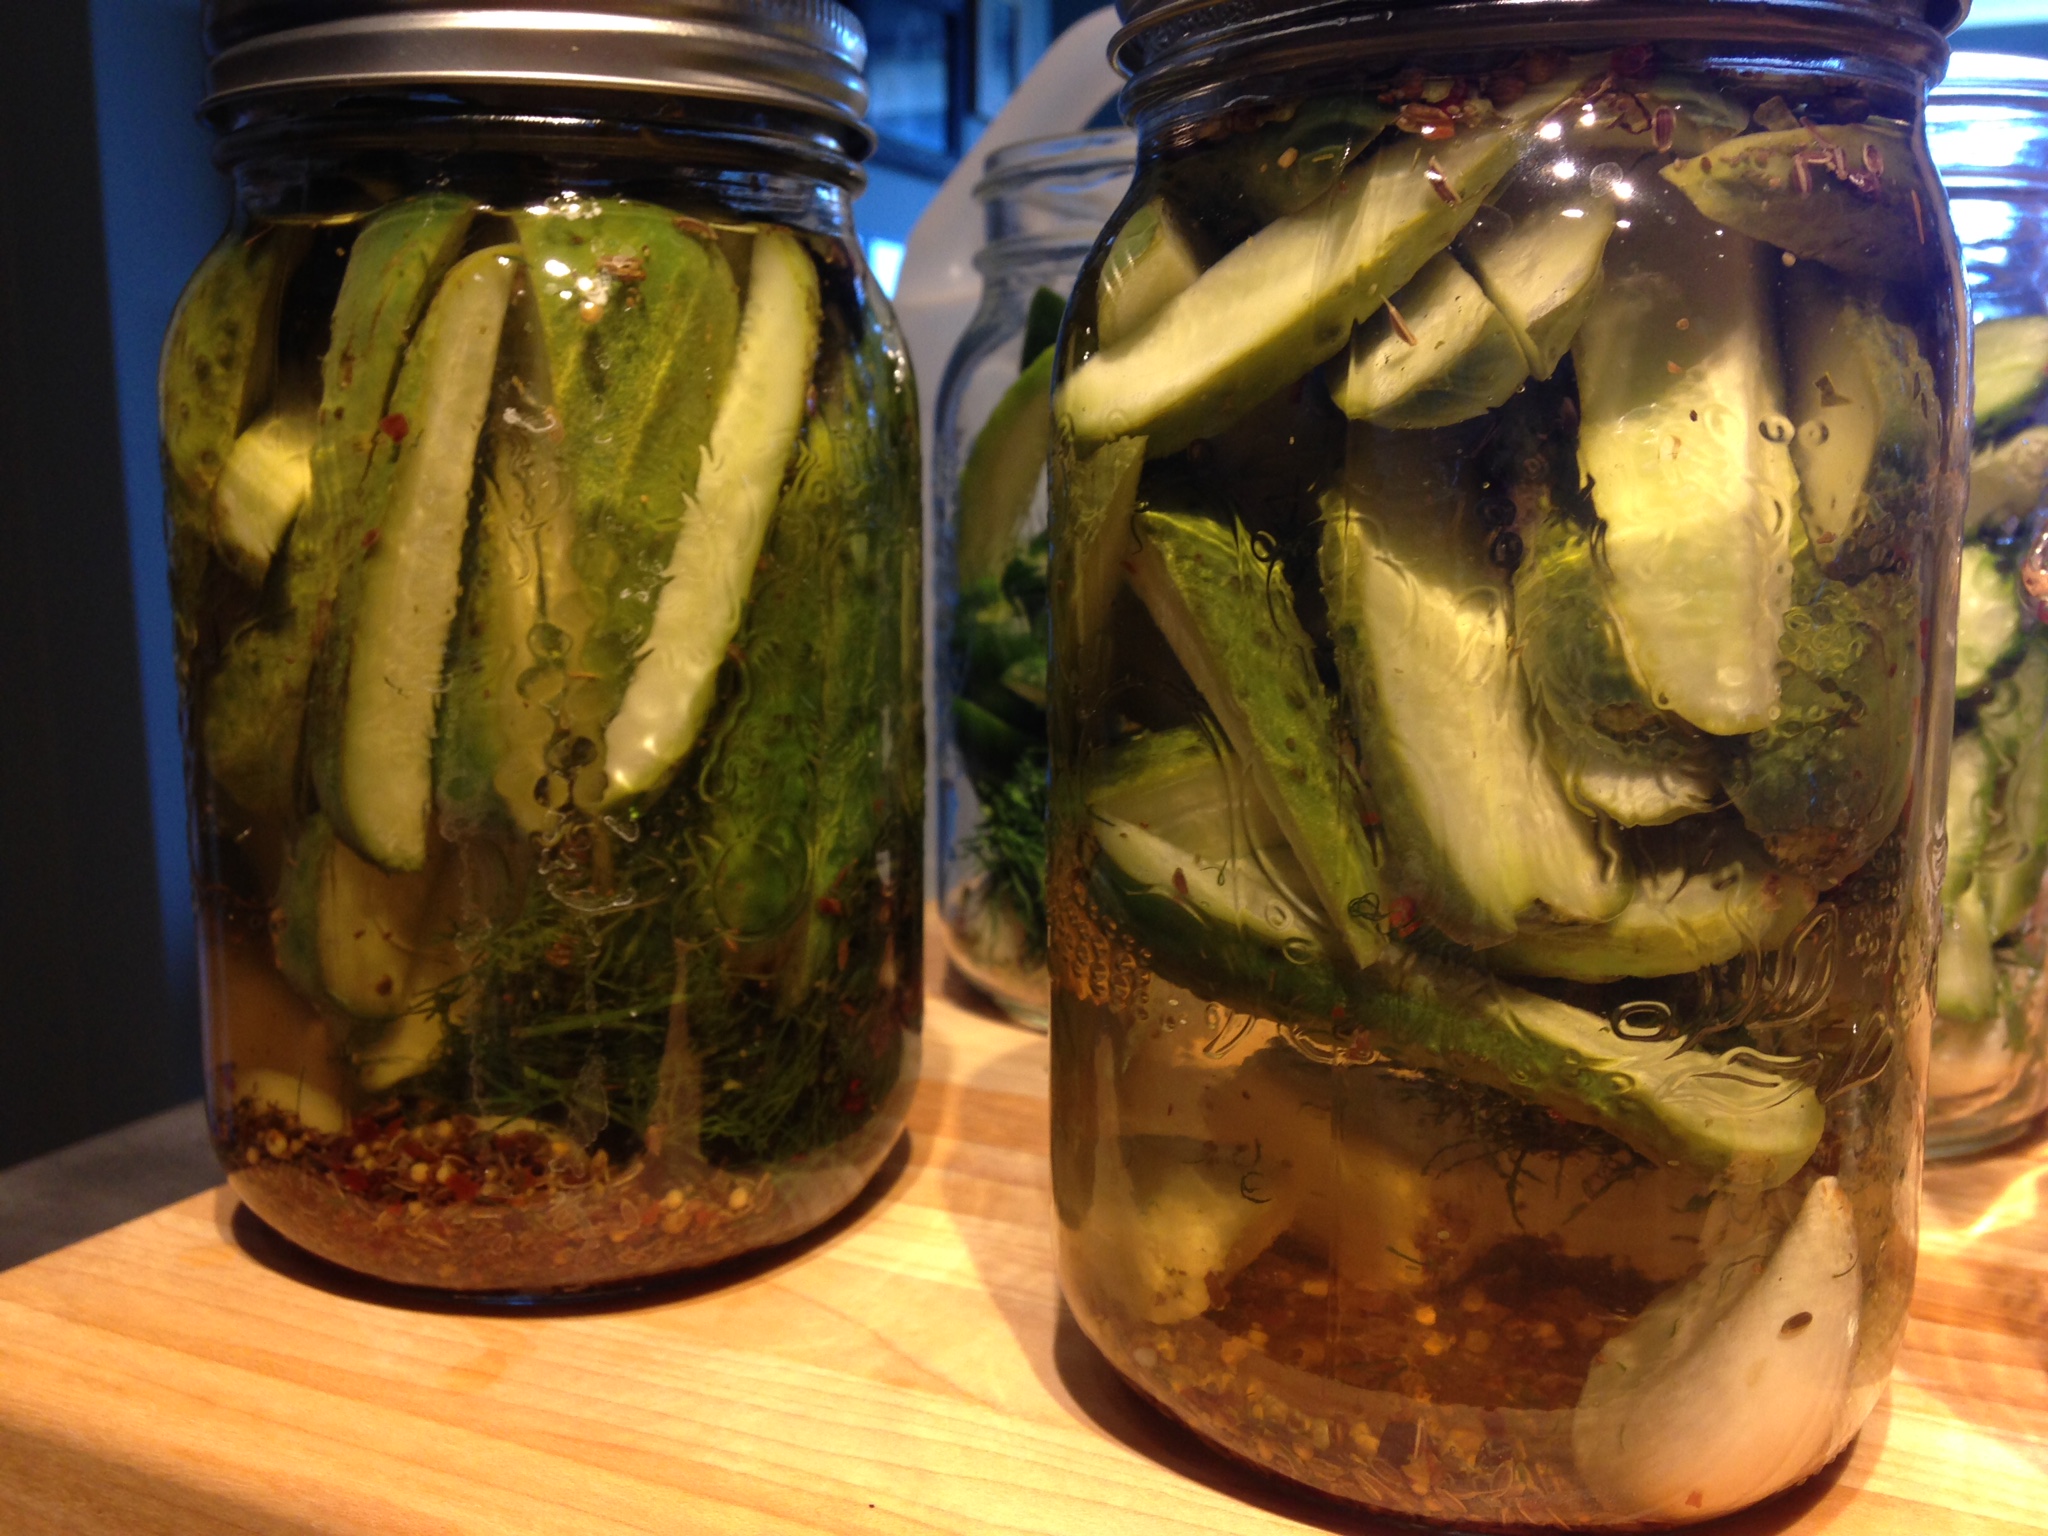
 I love me a good pickle. And it is officially "canning season" up here in Toronto. Coming from a land devoid of seasons (i.e. Phoenix), the idea of an annual activity of canning, jarring, or preserving the year's harvest was entirely foreign to me. The first August I was in Canada, I was amazed to see pallets upon ballets of mason jars in local supermarkets and boxes of gelatin or pectin stocked to the roof. First I thought the Canadians were just *really into* the whole mason jar trend. But, turns out, they had a proud jarring tradition. That they actually used mason jars for, you know, what mason jars was originally intended for.
But I digress.
Pickles (or even dill pickles) are perhaps the most well-known of the old-school preserves. Actually the name is a bit of both a misnomer and a catch-all. Technically, this recipe is for pickled cucumbers in particular. As the concept of "pickling" can really be applied to any foodstuff: onions, garlic, watermelon, peppers, etc. It's only in recent years that referring generally to "pickles" implies cucumbers in particular.
Anyway. Pickles. I love pickles. But the traditional jarring/pickling method was always a little too intense for me. I don't have a fruit cellar. I don't need to store pints upon pints of preserves away for the long winter. I'm a 21st century gal with a supermarket just steps away. That doesn't take away the sheer pleasure of home pickling though. Everyone I've ever met who enjoys a good pickle has fairly specific qualifications for what exactly makes a "good pickle". Spicy? Extra dill? Sweet? The variations are endless. So if you're got a little time (and I'm talking about 20-30 minutes here) and you like yourself a good pickle, it might be a good idea to try your hand at it.
This recipe also gets us away from the traditional preparation method, known as "processing", of sterilizing your jars in a hot water bath. Now, you're more than welcome to add this step if shelf-stable pickles are up your alley (and you've got a place to store reams upon reams of preserves). But I'm more than happy to keep a couple of jars in the fridge & eat them over the course of a few weeks rather than all winter long. Yes, refrigerator pickles may not last as long, but what kind you make all depends on how much space you have (and, really, how much patience you have). I have very little of either. So let's call this a recipe for impatient pickles.
I've borrowed from a number of different recipes for refrigerator pickles for this one (particularly thekitchn's very excellent introduction to dill pickles). As with most pickling recipes, the variations are endless. This is just one among many and, obviously, feel free to change almost any of the spices or vinegar varieties according to your own taste.
The key here is really the combination of cucumbers + hot vinegar + spices + time = pickles. That's all you need to know as a basic pickler.
Makes 4 2-pint jars of refrigerator pickles
Ingredients
40-50 Persian cucumbers, washed and cut into spears
16 garlic gloves, peeled
8 tsp dill seed
4 tsp celery seed
4 tsp red pepper flakes
4 tsp red peppercorns (or black, whatever you have/prefer)
1 bunch fresh dill weed
4 tsp pickling spice (available in most spice sections of supermarkets or make your own of a variety of dill seed, coriander, celery seed, cardamom, etc.)
12 tbsp salt (we used sea salt)
8 cups vinegar (we used a majority of white vinegar with a splash of white wine vinegar, but you can substitute whatever flavor you prefer: rice vinegar, red wine vinegar, cider vinegar, etc.)
Method
- Wash and dry your jars and lids. If you were planning to make shelf-stable pickles, you'd need to process them (cook them in a hot water bath, but since we're making refrigerator pickles, we're skipping this step)
2. Add the spices to the bottom of the jars. I put 1 tsp red pepper flakes, 1 tsp red peppercorns, 1 tsp celery seed, 1 tsp dill seed, 4 garlic cloves, 1 tsp pickling spice, and 1/4 of my fresh dill into the bottom of each. But, as I said, the variation here is entirely up to you.
3. Pack the cucumbers into the jar. Pack them as tightly as you can without smashing them.
4. Combine the vinegar, water, and salt in a large saucepan. Bring to a rolling boil.
5. Ladle the hot vinegar mixture into each of the jars. Fill each jar to within 1/2 inch of the top. Don't worry if you don't use all the brine.
6. Tap the jars gently against the counter to remove any excess air bubbles.
7. Seal the jars tightly with the lids.
8. Allow the jars to come to room temperature. Store them in the fridge. Try to let them sit for at least 48 hours before sampling them. The longer they age, the better they will be. They will keep in the fridge for several weeks.


